This is part 2, of this Historic Church Hill, Richmond, Va project build, check out part 1 here.
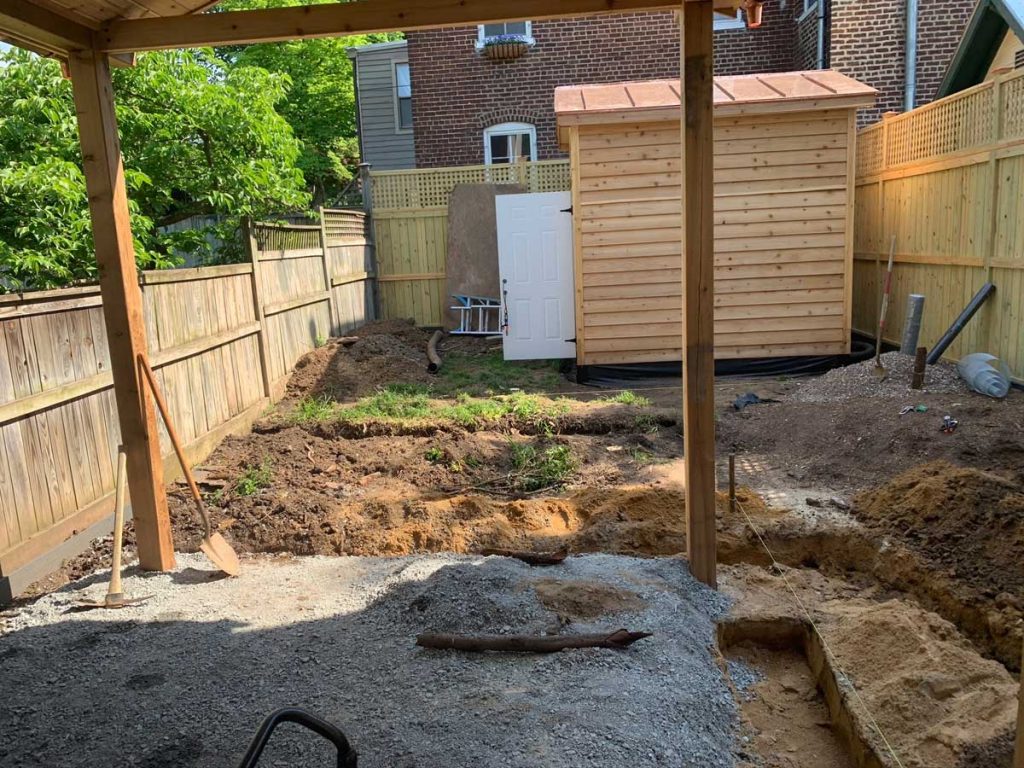
Now that the fence, and two custom structures are in place, the grading of the site can continue and the hardscaping can start!
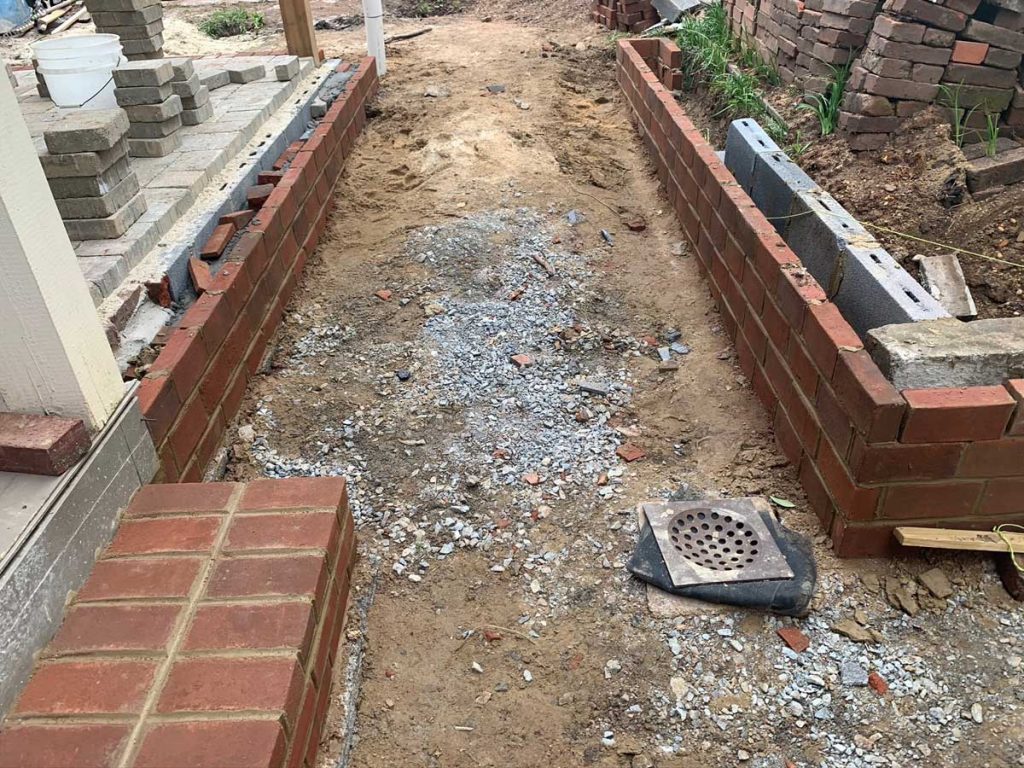
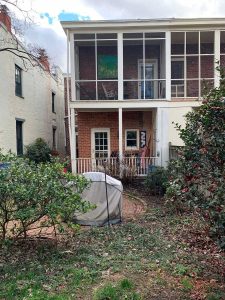
As the property is on a small slope I divided the design into three separate grades. The back area where the shed is and the portion where the clients step out is 18″ above the grade of the patio. We used a small brick wall to retain the upper portion, with a slight slope leading to the ramp, where the bottom of the ramp below the patio grade by 15″.
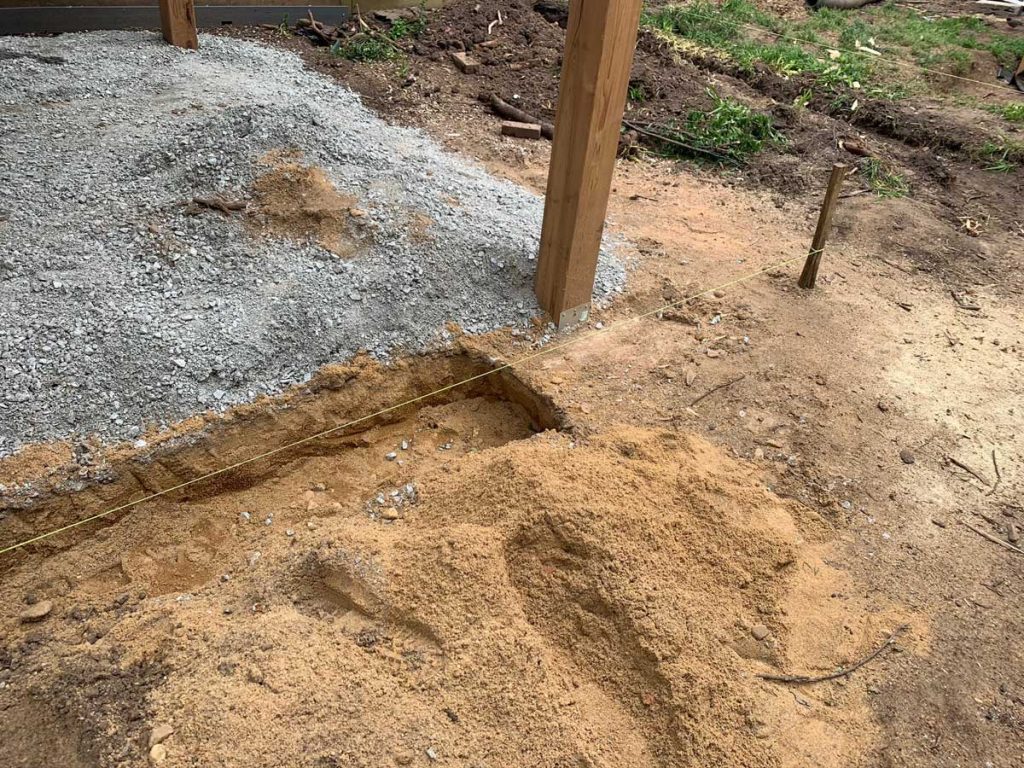
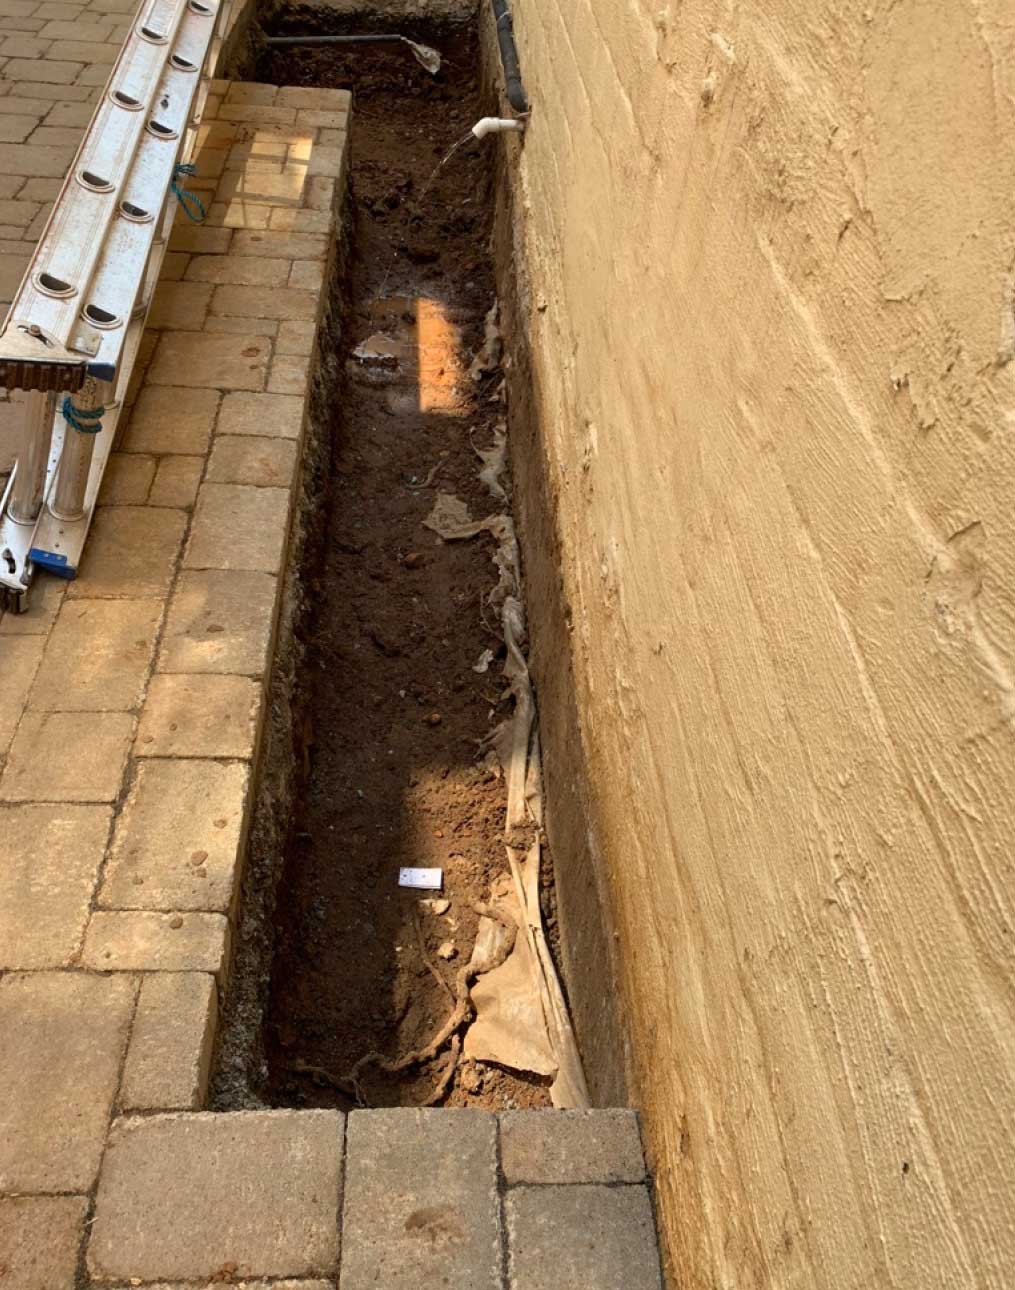
Here you can see the footer dug out for the wall that supports the patio and creates the edge of the ramp.
The homeowners and I decided on a ramp over stairs to deal with the elevation change. Partly because the awkward step that was there previously had really aggravated them and if they are using a dolly to load items from the shed, stairs would have been manageable, but still an irritant. Yes, dear readers, all things that bother you should be considered in a functional design.
Other pro’s to having a ramp vs stairs are:
Accessibility. While this wasn’t a consideration for these clients, being able to navigate small areas with a walker, cane, or wheelchair may be a huge plus for a future occupant, many years down the line.
Safety. Ramps are safer than stairs for people and dogs!
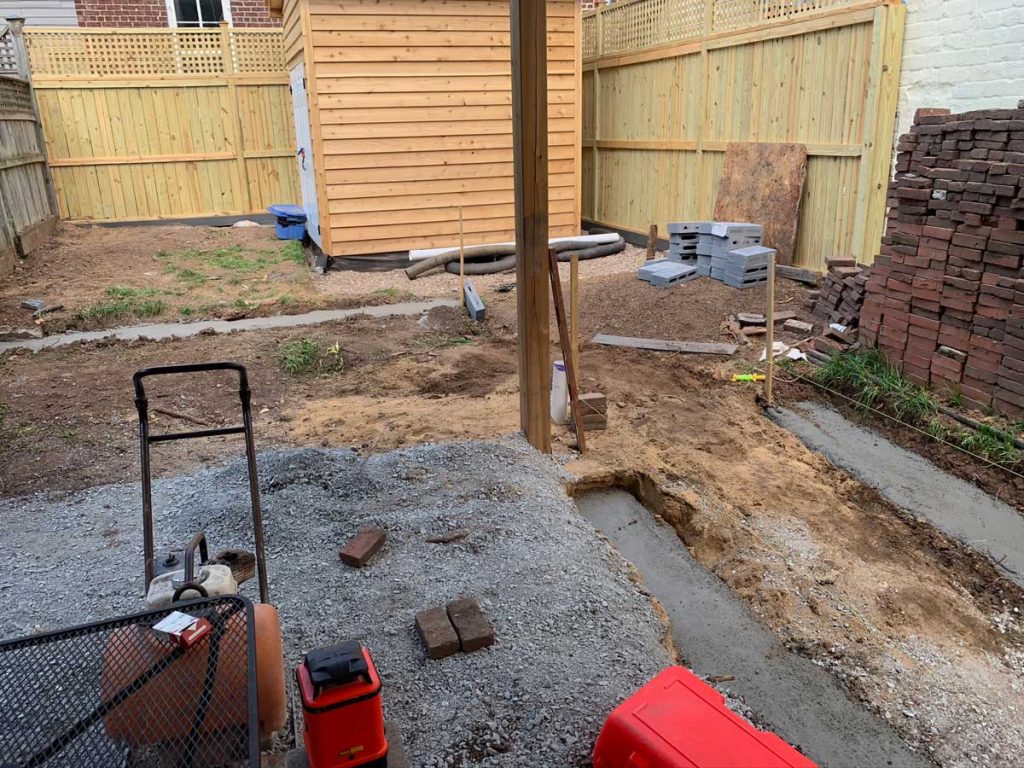
Here are the footers after they have been poured. And below, the stair foundation where the bricks get laid.
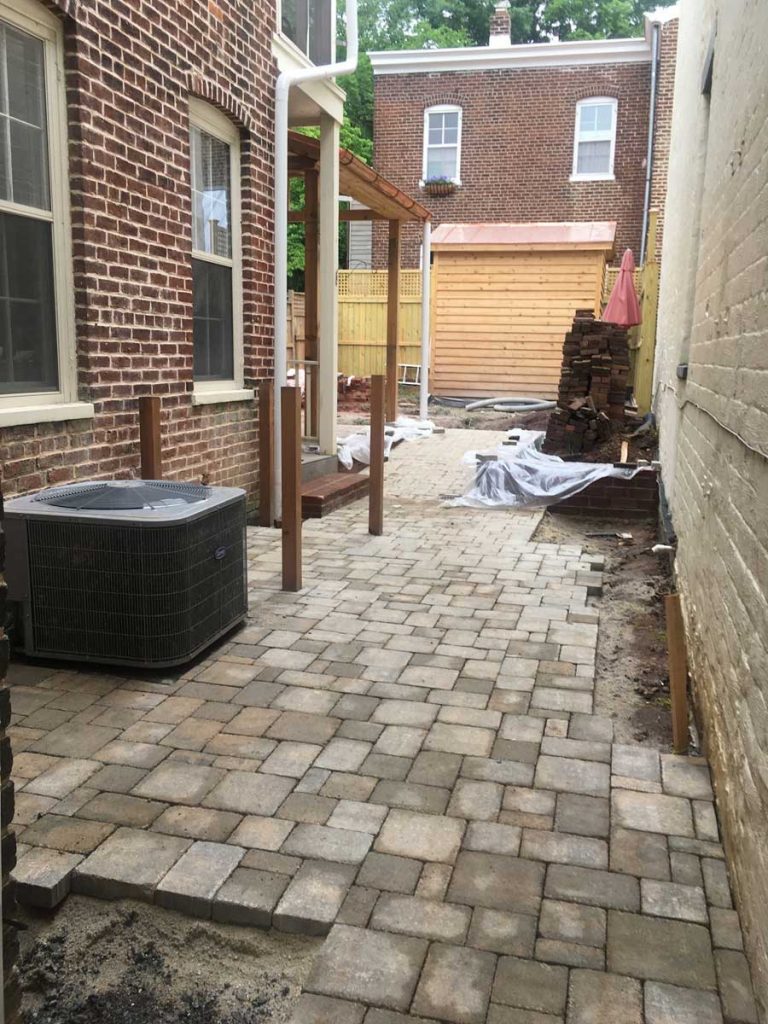
The walls are starting to take shape.
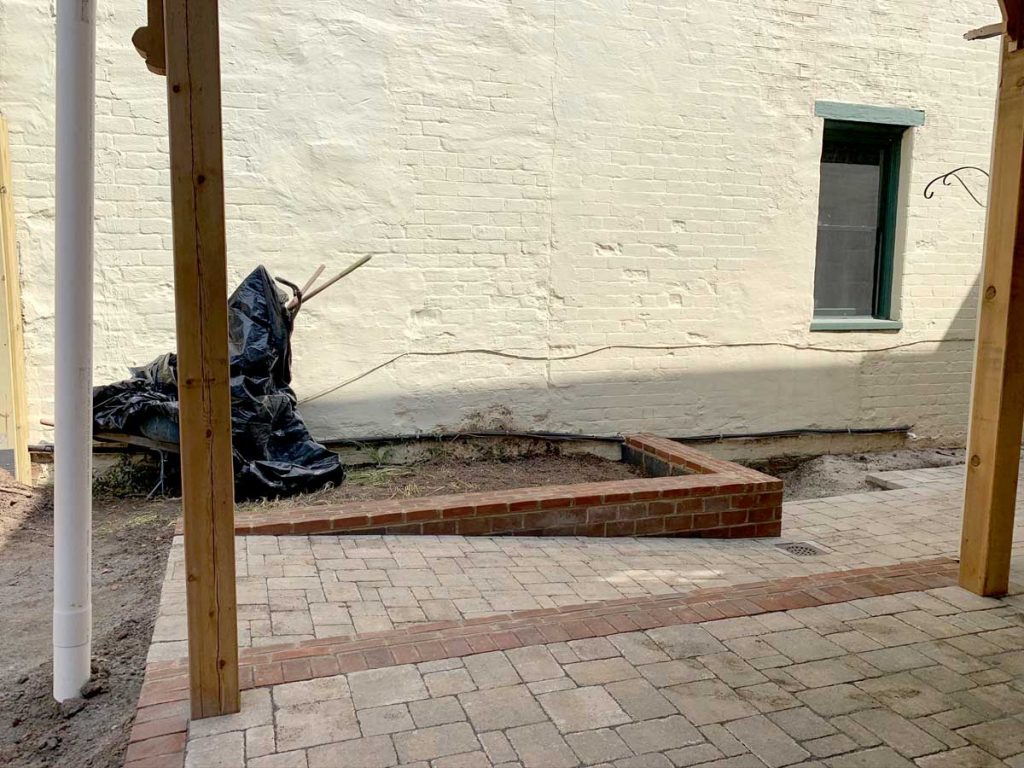
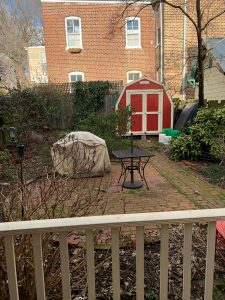
The patio under the pergola is now nearly finished.

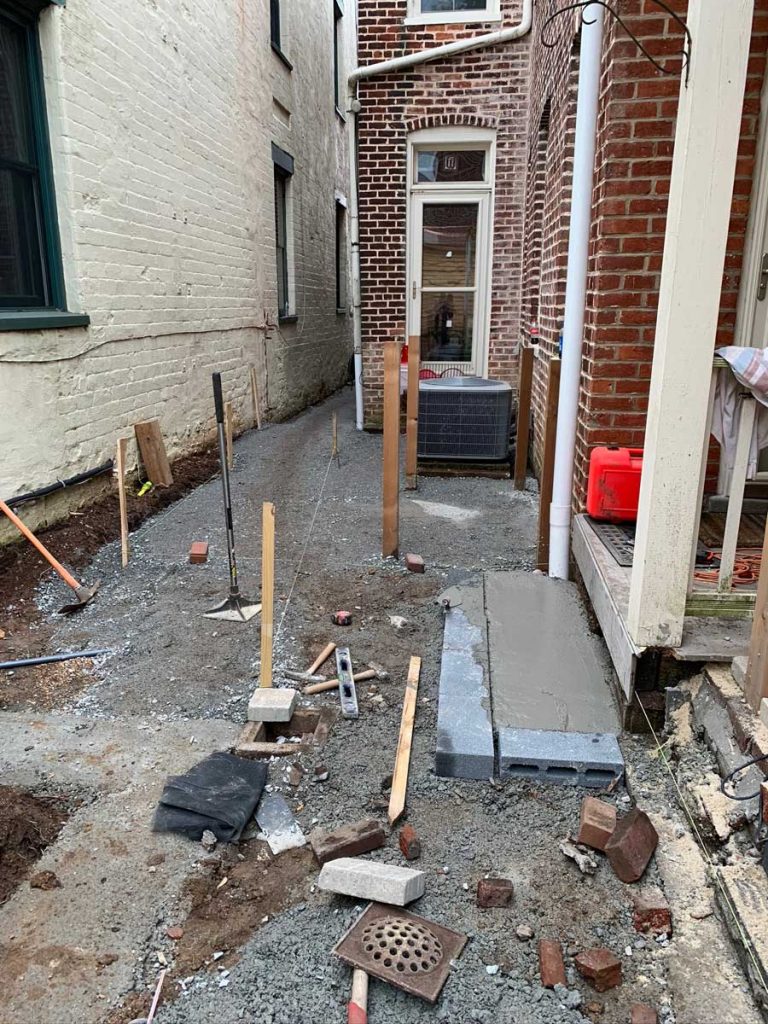
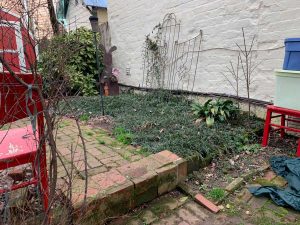
The side lower patio/walkway got installed next. Below we are deciding how to make the garden bed edges look perfectly square, when the neighbours house is not parallel to the clients home. A completely normal issue to have, especially when working with 100+ year old homes.
Success!!
![]()
Next, all the garden beds had 18″ of soil removed so we could install soil filled with nutrients and compost.
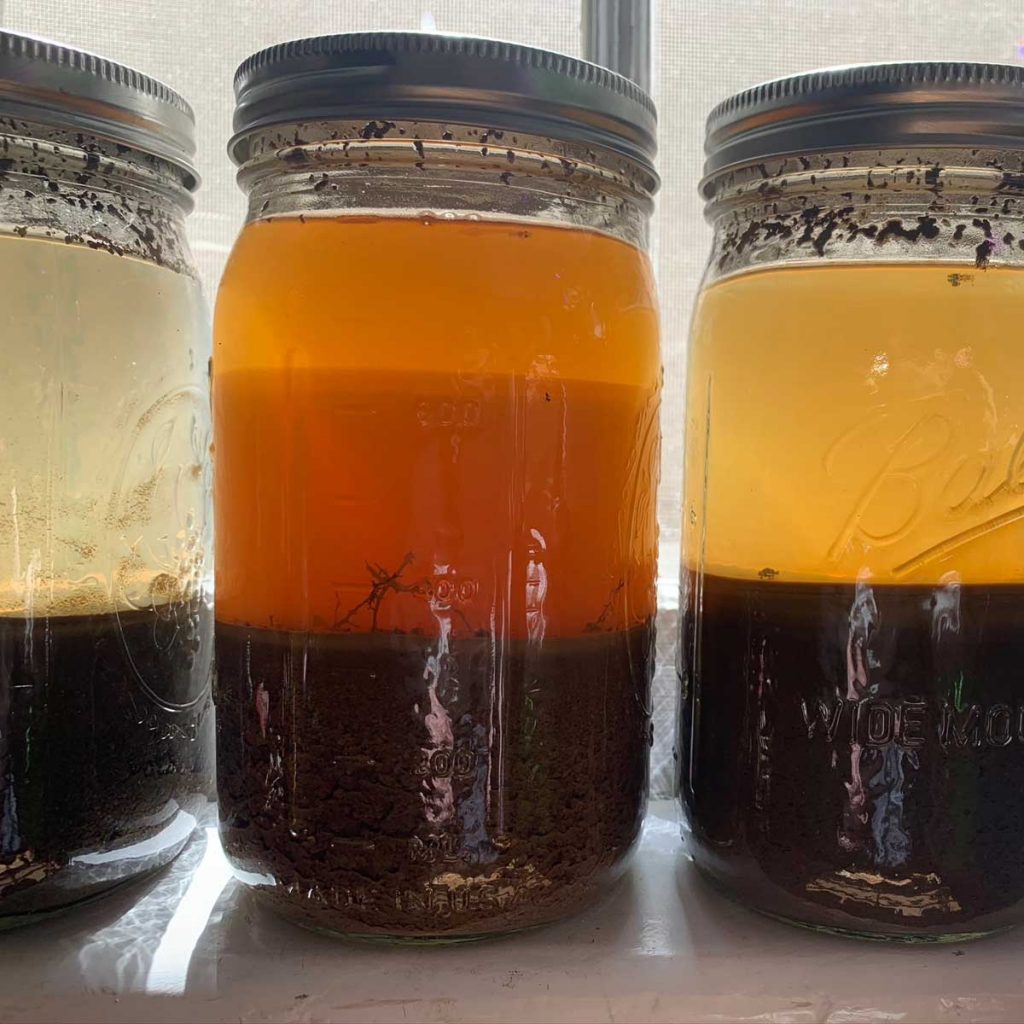
The photo below shows the results from the “Soil Jar Test” from various places in the yard to find out the soil composition of each garden area. The soil separates and lets us see how much sand, silt, clay, loam and organic matter is in each sample. The jar on the far left has the clearest water and the least amount of organic matter. The jar in the middle has the most organic matter and the one on the right had between the other two.
The conclusion: the existing soil composition had high amounts of sand, which is great for drainage, but terrible for retaining moisture and nutrients. The organic matter in the soil was hardly evident.
When soil has 50% organic matter, or compost, it retains the moisture nutrients in a far more efficient manner which helps all the plants be the healthiest they can be.
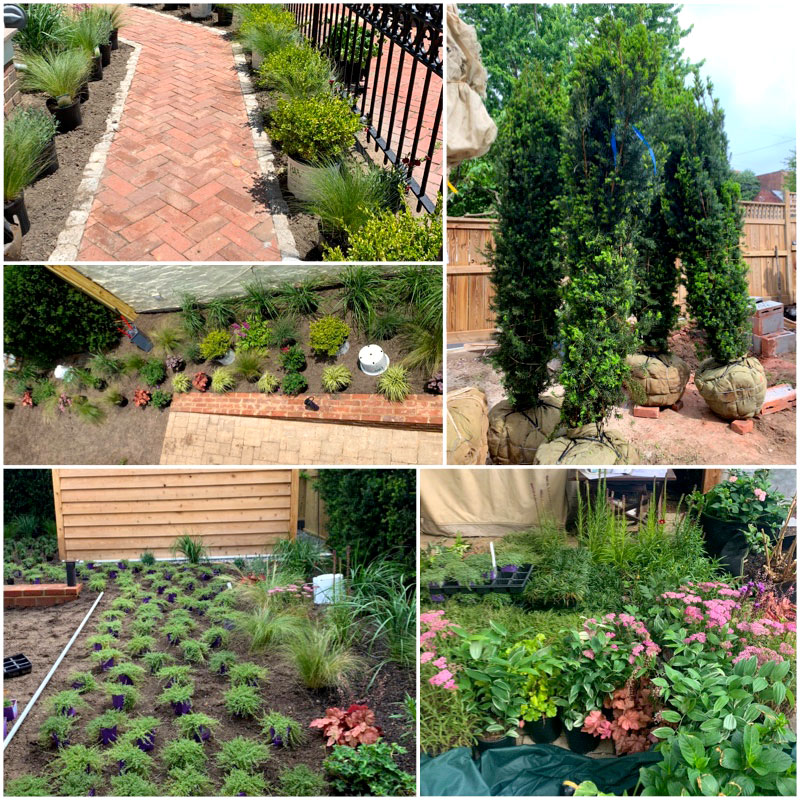
Now on to the part that is the most rewarding personally!! The plantings! Plants bring a multitude of benefits; privacy, they change the look and feel of the property, they bring butterflies, bees (good ones), and birds. They add scent, colour and an overall softness to the space.
Since we removed some of the mature trees that had become problematic because they were oversized for the space, I chose three trees that would be spring flowering and stay compact, so that in 10-20 years they won’t have to be removed.
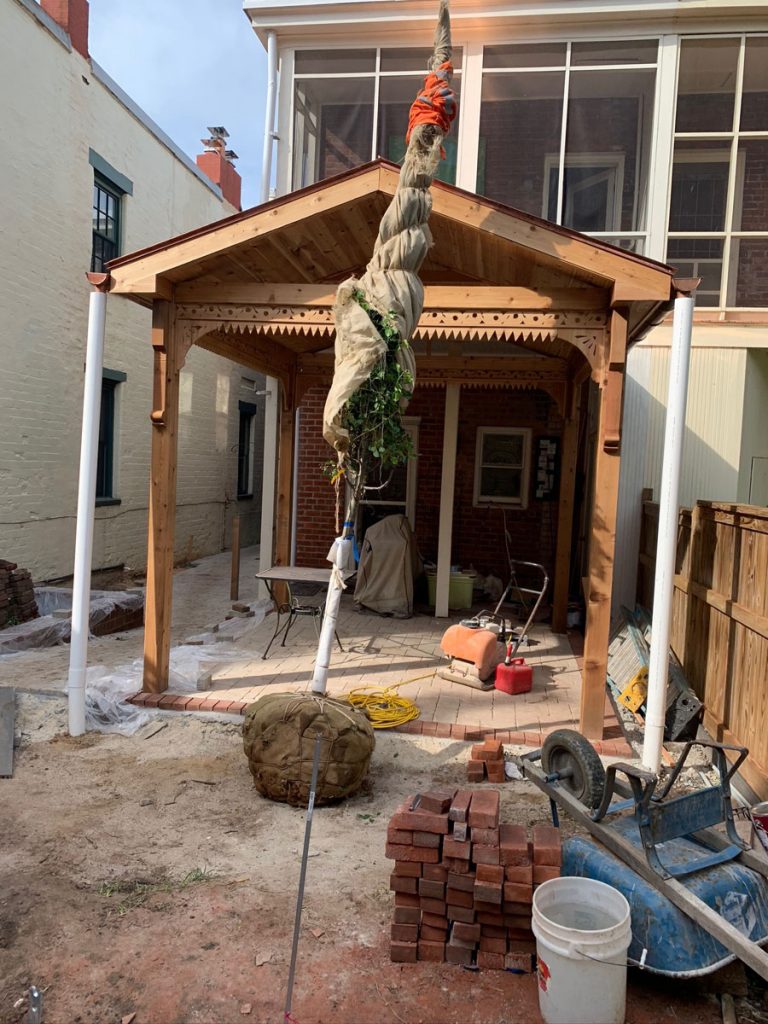
This first one had a monster sized root ball. The tree dolly wouldn’t fit through the gate, so we had to use a regular dolly and three people to manhandle it in place. Always start with the hardest item first, right?
Next we brought in the yew hedging. For context here is ONE beside the pergola. My grower told me they would be 160lbs each. The best guess from my planter is that they were 300 lbs each. Big and Beautiful!
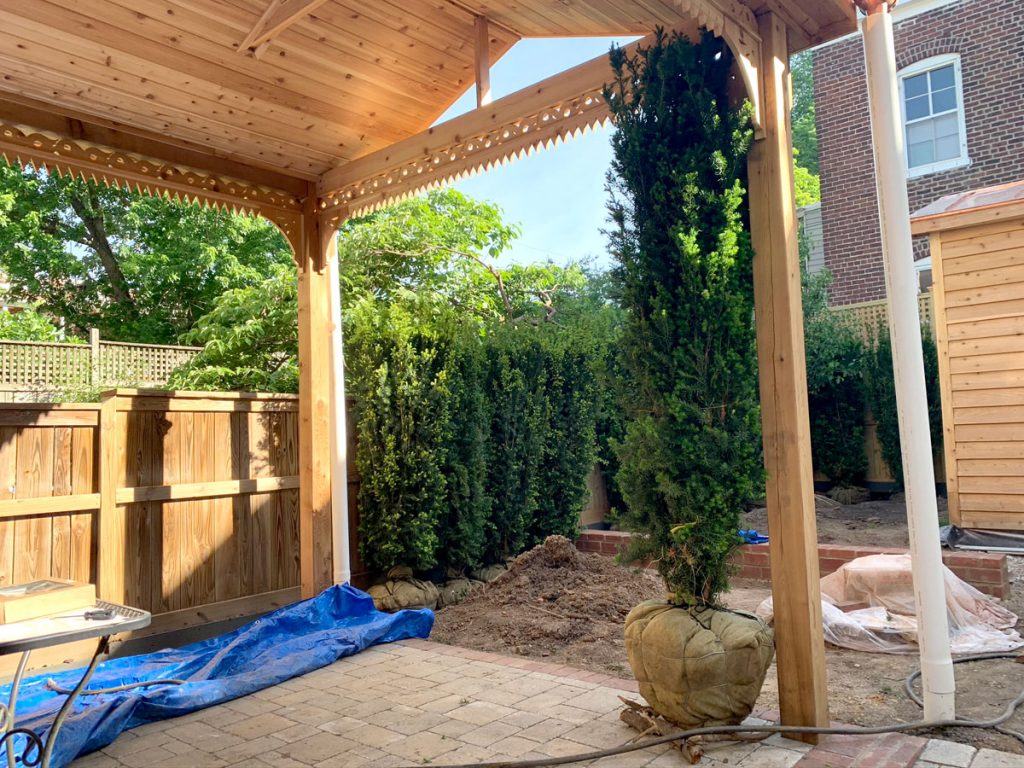
Large yew hedge = instant privacy!
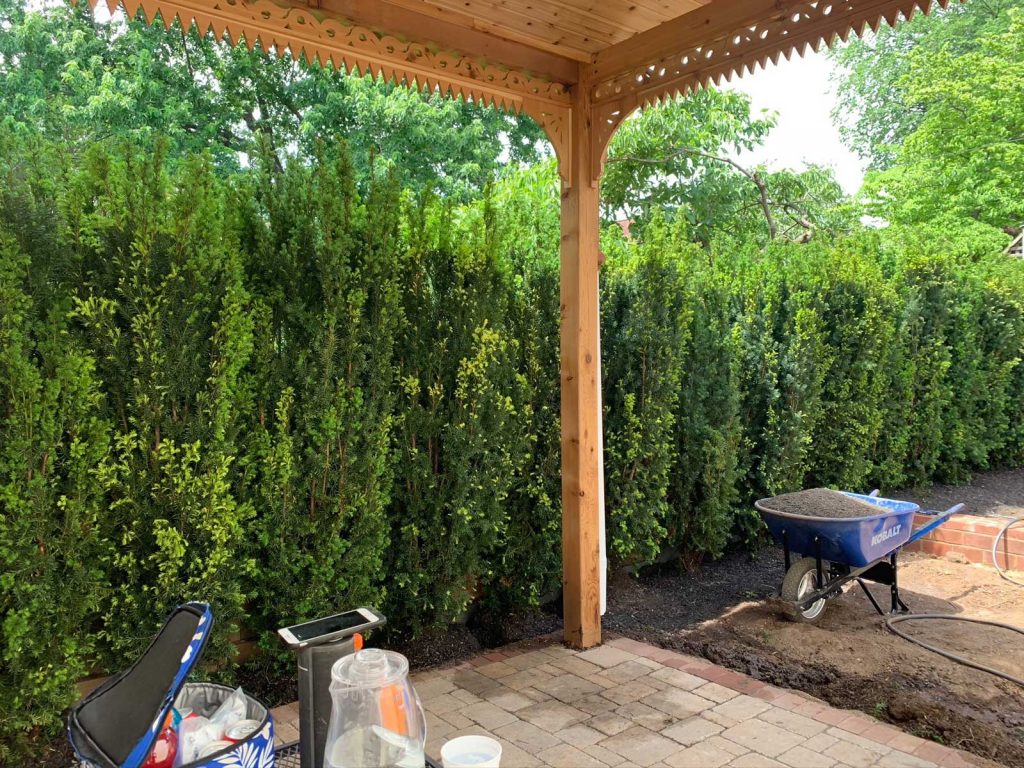
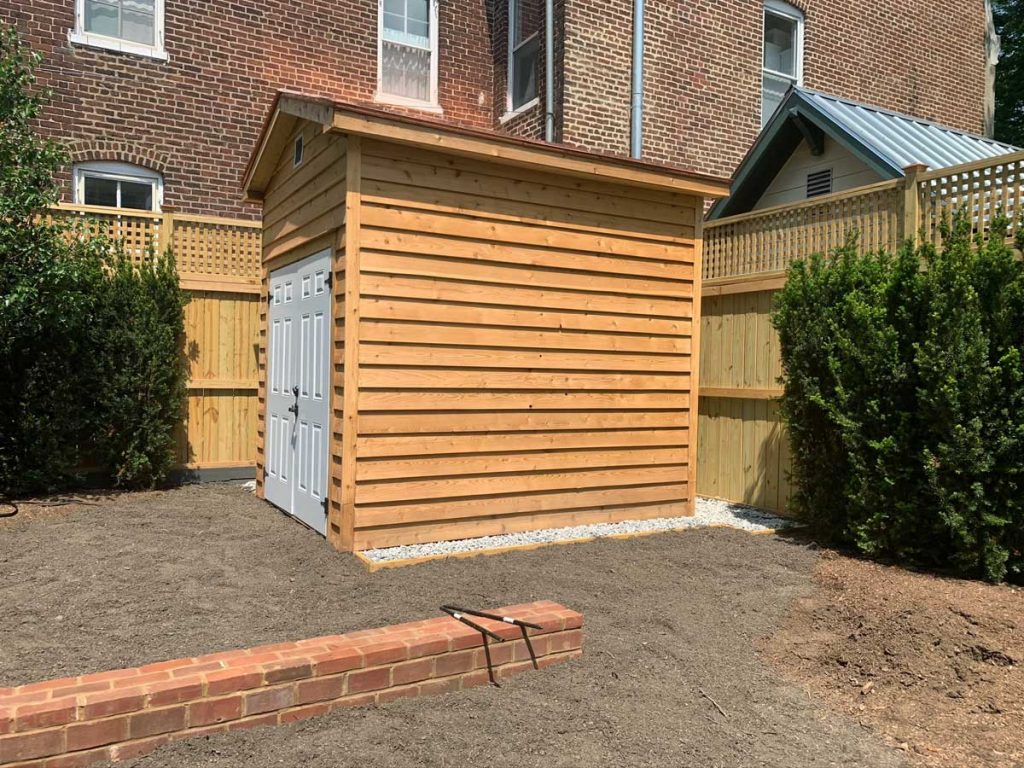
Once the yew hedging was in, we were able to complete the final grade. One of the clients requests was that she be able to walk out of her shed with a large step. We used metal mesh to block out any areas under the gravel so groundhogs and other pests won’t be able to create a den and cause future problems!
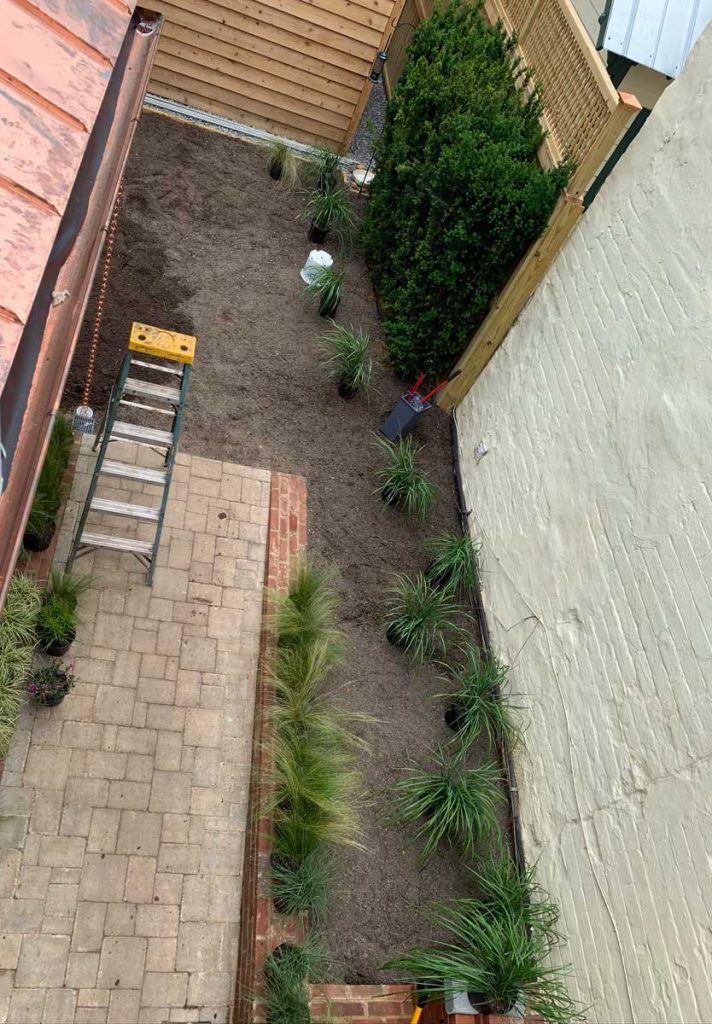
Here is a birdseye view of the other plantings starting to be laid out.
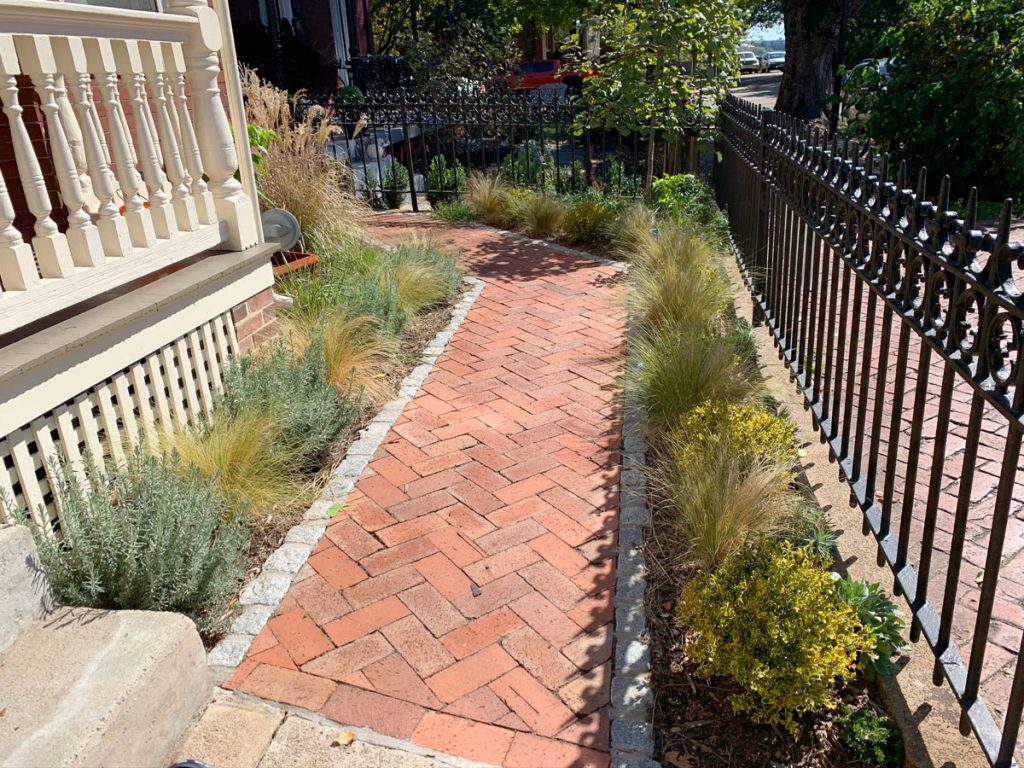
And a quick catch up on the front:
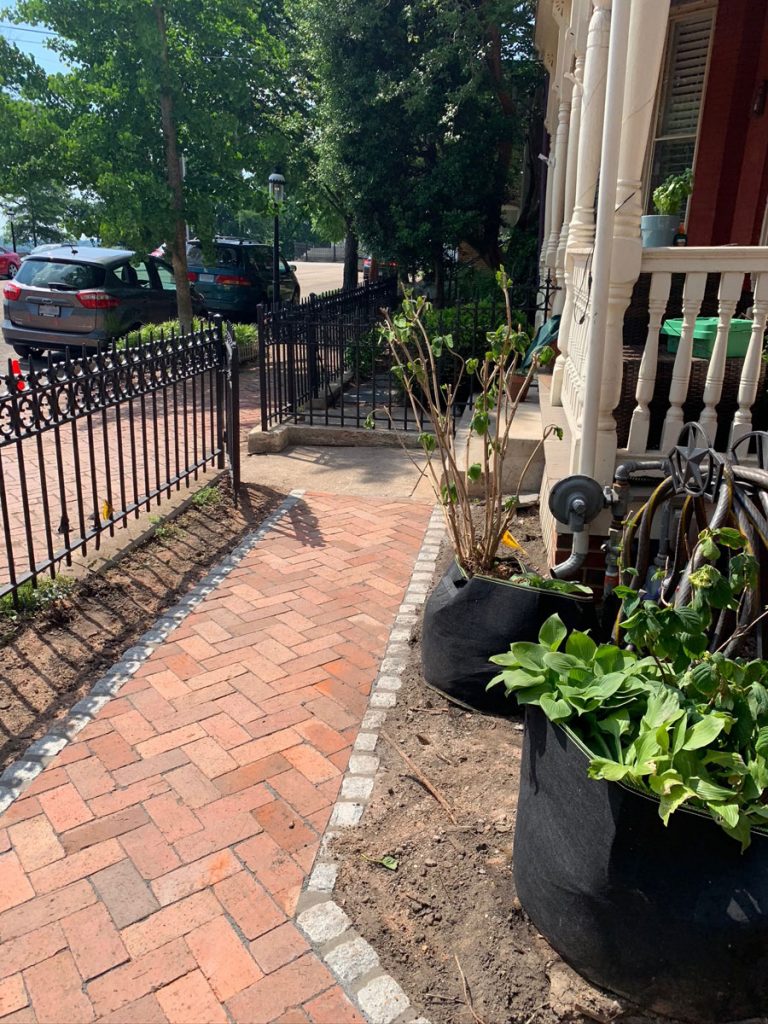
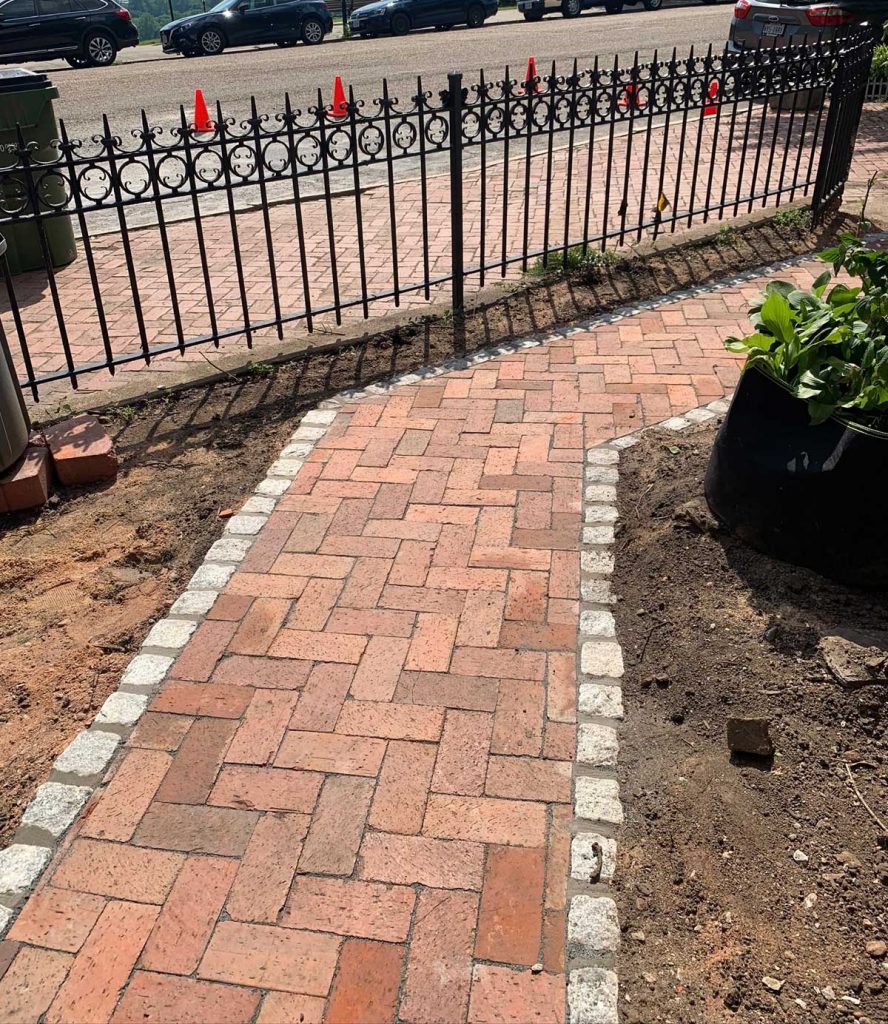
Remember the large stack of bricks that came out of the back yard? The masons reused them and we stuck to the historic guidelines and laid them in a herringbone pattern to match the sidewalk and edged them in granite cobbles to complement the historic granite curbs!
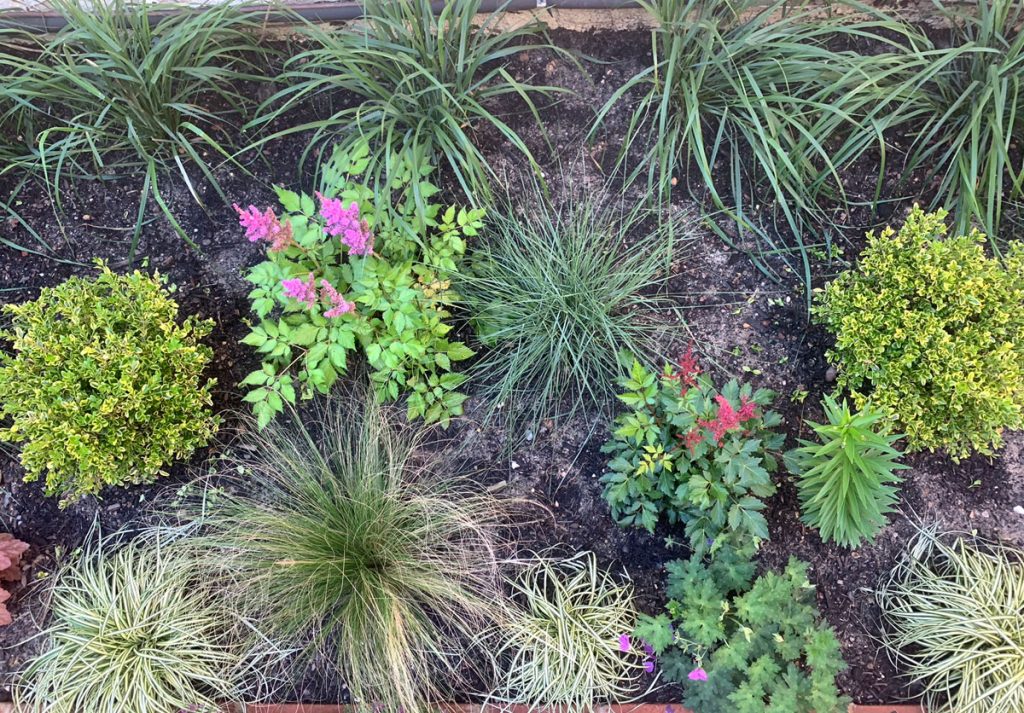
Here is what the plant layout looks like before going in the ground.
This is what blooms in June through July!
-

- Cranesbill, Geranium
-

- Hydrangea; saved from client original garden
-
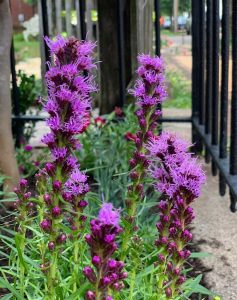
- Liatris
-

- Yarrow
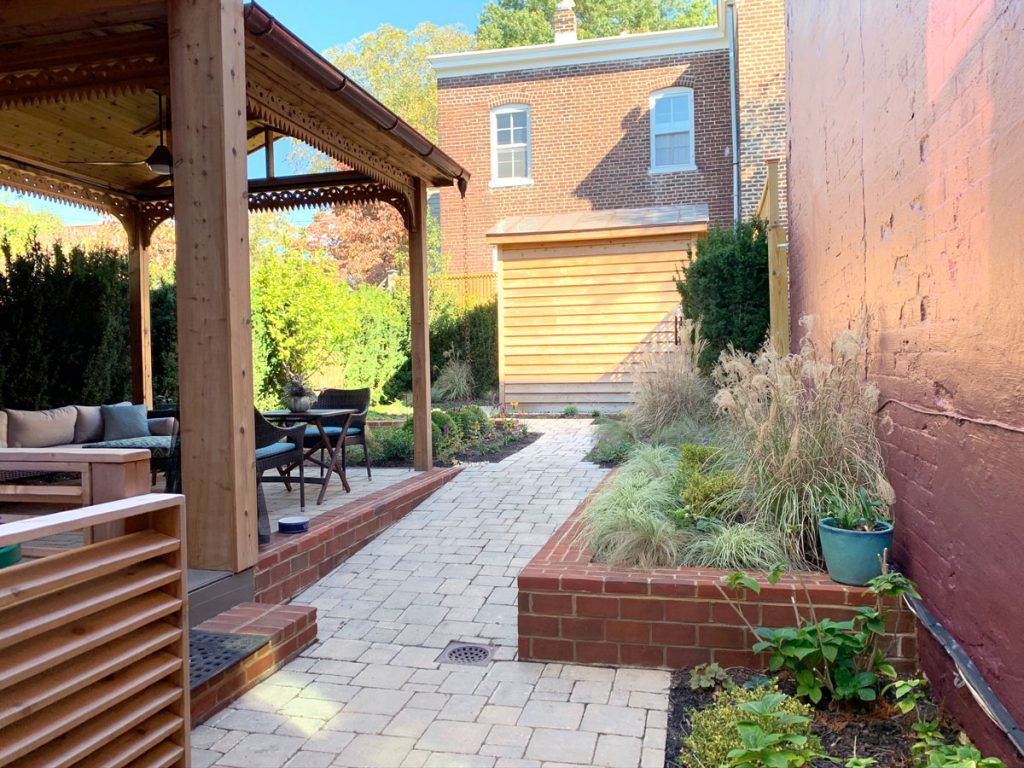
Next the neighbours painted their house, while the cushions and mosquito curtains got made and hemmed, and finally we have the final images to share!
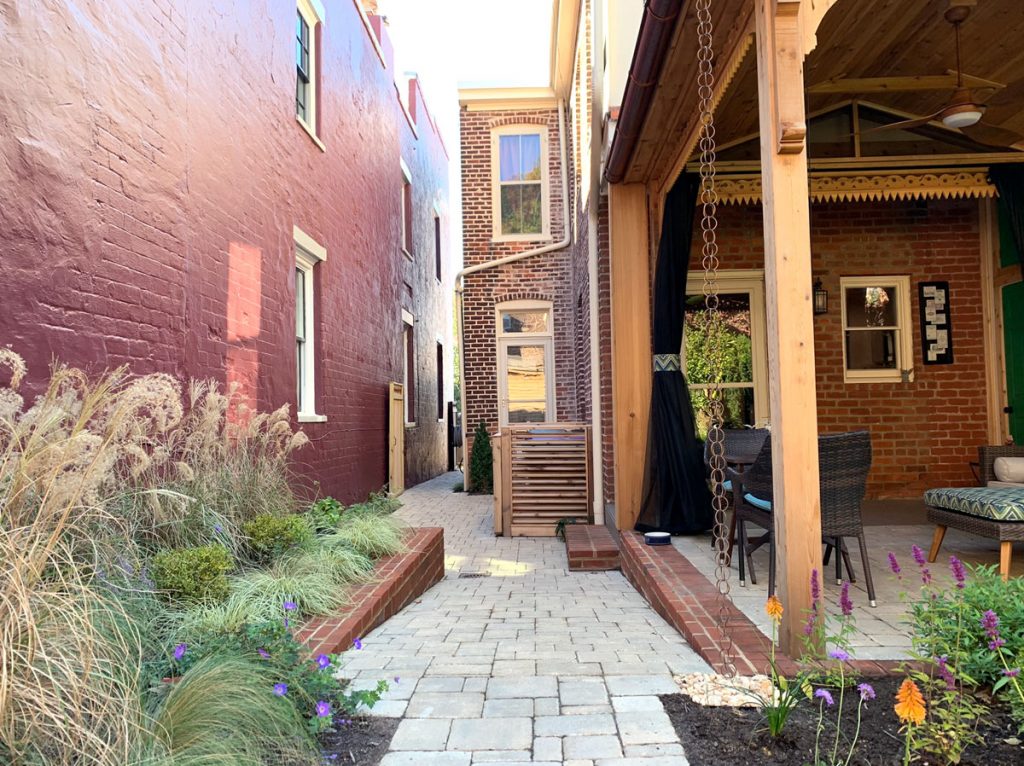
In the before photo’s you may remember the pea gravel walkway and the ladder and hoses laying on the ground. Below you can see the ladder got mounted on the wall, the old hose reel got replaced with a smooth gliding one and now the trash and recycling cans can be taken out to the curb with ease.

As you walk down the side of the home, you come into this side courtyard, that has screening for the trash and recycling and leads up the ramp to the shed, or over to the patio area.
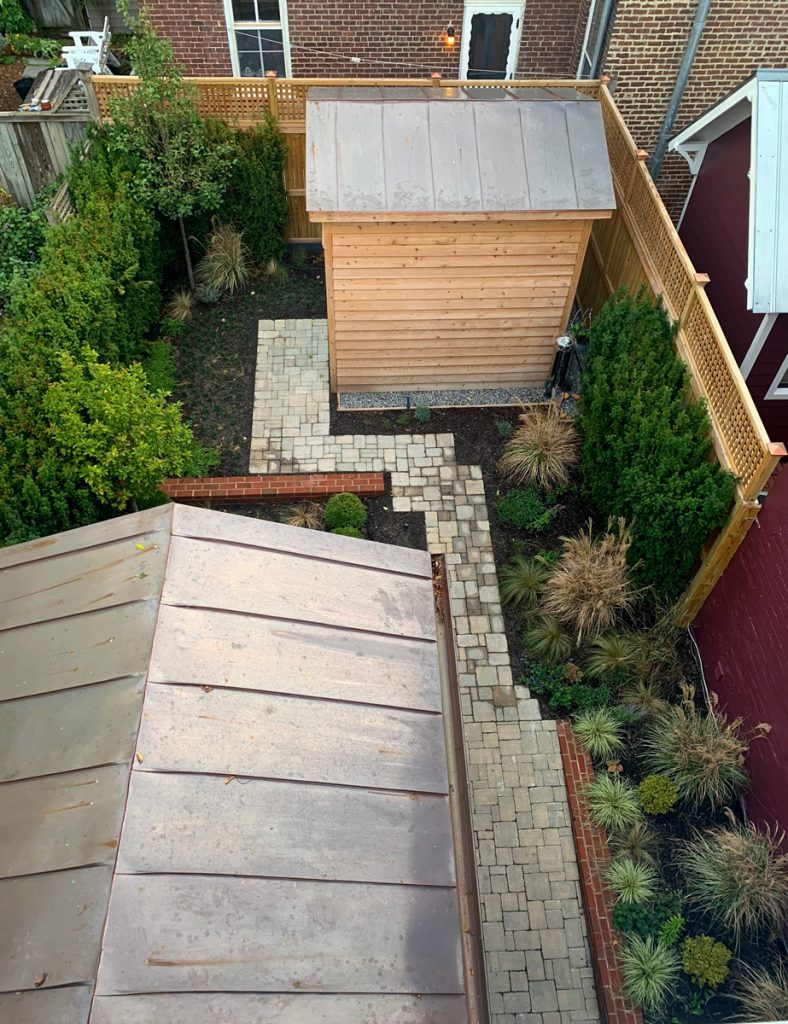
Above is a birds eye view from the clients roof!
![]()
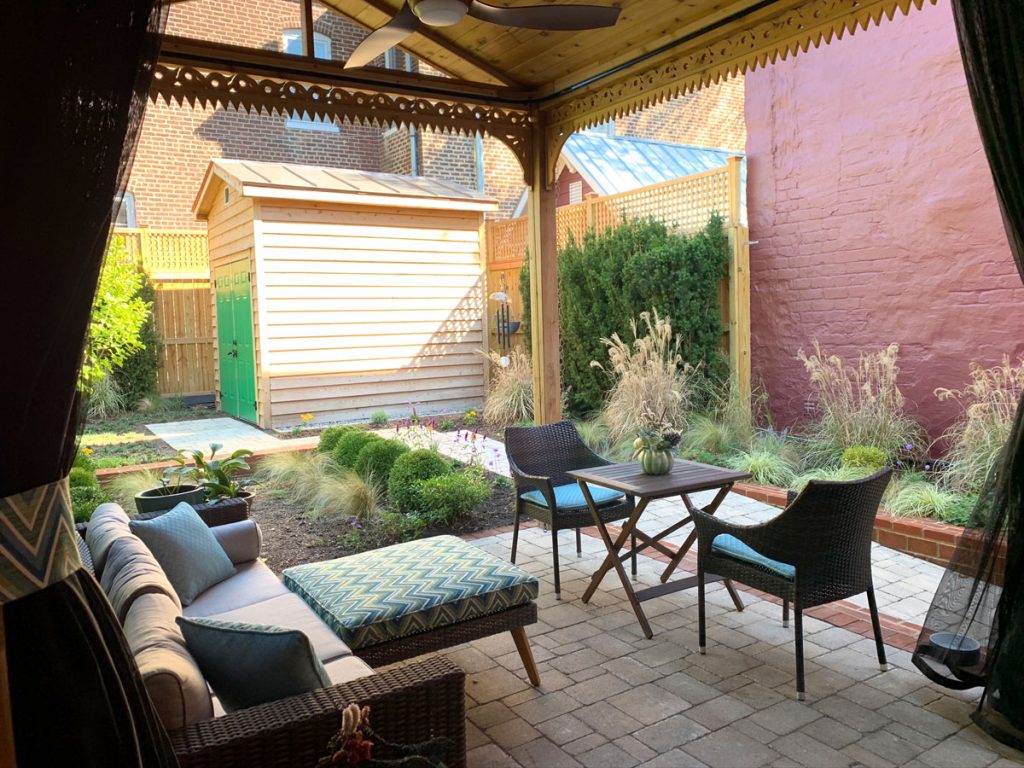
Can you imagine yourself sitting here in peace, watching the birds fly into the trees, the butterflies floating around the flowers and your dog lying on his ottoman?
Here is a quick look at the before and after:
-
- Before
-
- Before from back patio
-
- Before; awkward Stair
-
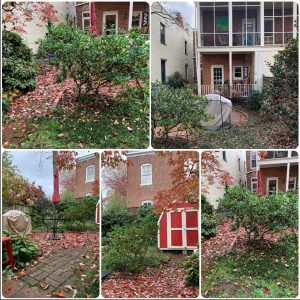
- Before
Check out the video of this post here
If you missed Part 1, go here for the recap.
We only have one design spot left for the early new year, so if you were hoping to have a design and build for spring, contact me now to save your spot!!
Tell me below, dear readers, what was your favourite element of this project? Did anything surprise or delight you? AND BONUS — how many (amazing) people did it take to complete this build? Let me know your best guess below!
There is something about a renovation that gets me so intrigued. I would love to work on a project like this.
Thank you Heather, I completely agree. I love to seeing the transformation.
The before and after photos are amazing! A perfect place to relax!
Thank you Stacie. Yes, it is quite peaceful. Especially when it rains, the copper rain chains add the soft tinkling of individual droplets to the soothing rush of white water, they are a treat to listen to.
This is such an amazing transformation. I can’t believe it’s the same place.
It is hard to believe it is the same place, I completely agree. This was truly a labour of love project.
My oh my….I just imagine my life here, all day, all season! It’s such a beauty you have created here.
Thank you for your sweet comments. I agree, I could get lost in a good cup of tea and a book very easily in this space.
What a lovely before and after photos here. Renovating for comfort and enjoyment are important factors that shouldn’t be overlooked.
Calleigh, yes thank you for noticing. I try and create spaces that you mind and body adore. I think this space does just that.
This is coming along so great! Excellent job with the landscaping! I love plants they add so much to a property.
Going through your last two posts, it’s been a wonderful journey. The house now looks just awesome. Feel like being there.
Thank you for your comment. It is an easy place to get emerged in now. The space is very calming.
Thank you Matt. The planting is one of my favourite parts of the build. This entire garden has been designed with drought-tolerant plants and will be 99% fully self-sustaining in one year. This means the homeowner will not need to spend time watering, doing excess weeding or maintaining.⠀
Historic Church Hill Richmond Build Part 1 was amazing! This Part 2 was even better. Excellent job on the landscaping. It was so pretty!
Thank you for your kind words. I really love how it turned out.
It looks great. It’s been fun watching the process. What’s your next project.
Thank you! We are currently working with this same client on a few indoor projects, master bedroom and kitchen relocation. Stay tuned!
I love to see pictures of redesigns! I would love to do a renovation one day
Renovations can be a challenge but the rewards are worth it. Thank you for your comment.
Wow! What an amazing transformation. The landscaping is beautiful.
Thank you for your kind words.
The result looks so cozy! I love how you removed some of the mature trees and replaced them with others, that would be spring flowering and stay compact! It´s all about those small details that end up making a big difference!
Anna, yes! The small details make all of the difference. This entire garden has been designed with drought-tolerant plants and will be 99% fully self-sustaining in one year. This means the homeowner will not need to spend time watering, doing excess weeding or maintaining.⠀
WOW, such a great transformation. I love seeing before and after projects. Love everything about the renovation here.
It is hard to believe it is the same space sometimes when looking back at the pictures. Thank you for your comment.
Oh such a perfect landscape you’ve made here..! And the side courtyard is the best. Love it.
The side courtyard is one of my favourite parts as well. The 17 inch gate made it a challenge for the build, but it all turned out beautiful.
This must be such an exciting project. I loved the photos of the flowers too!
Thank you Angelina. The plants are always the heart and soul to any landscape build.