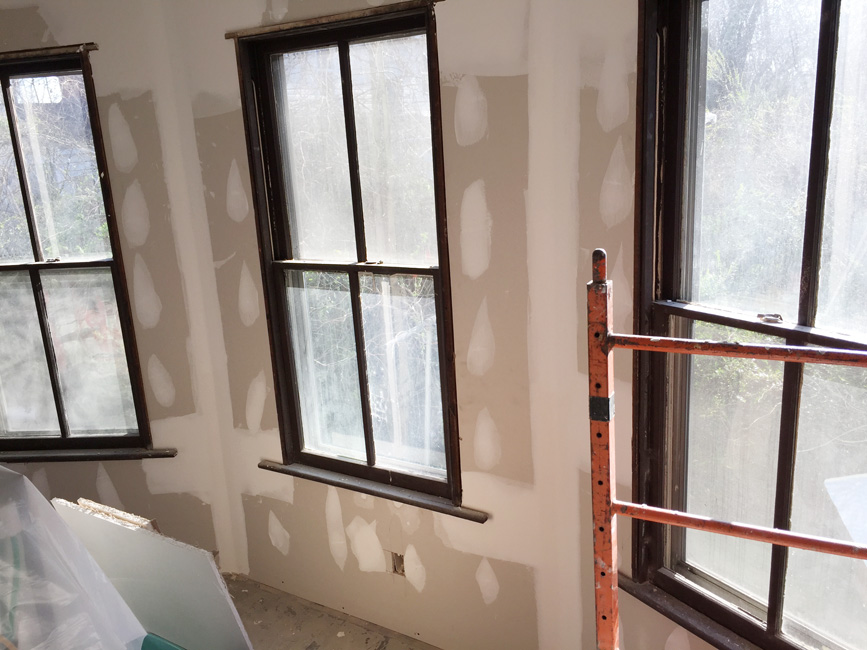
The drywallers came in and gave us some new walls! The dust that sanding drywall mud creates is just as fine as plaster dust, but it doesn’t spread as far as the plaster dust did.
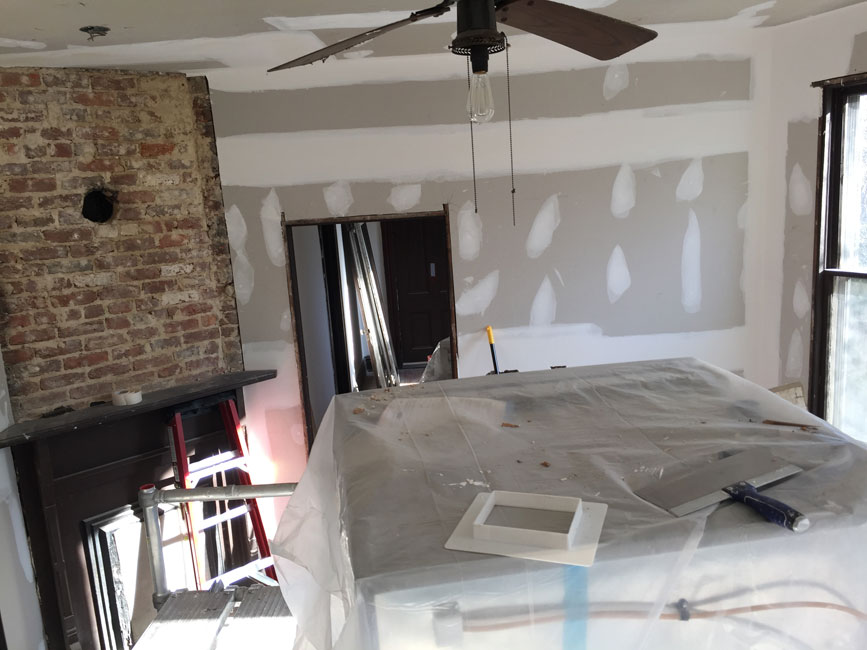
The fan shown in this photo will be moved to another room. These old fans with only four blades are definitely unique to the era and we like the look of it when it has its schoolhouse globe on!
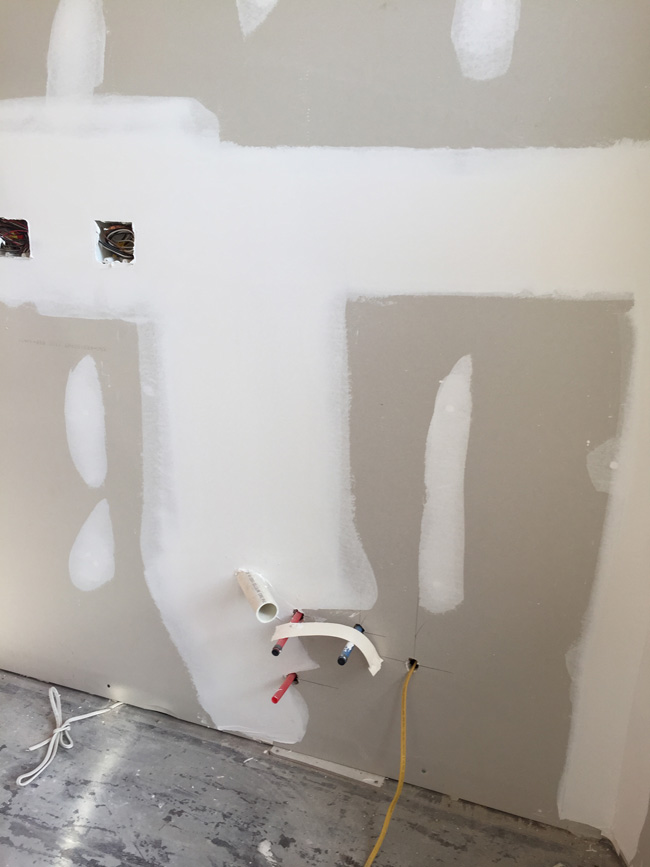
Next the whole space got primed.
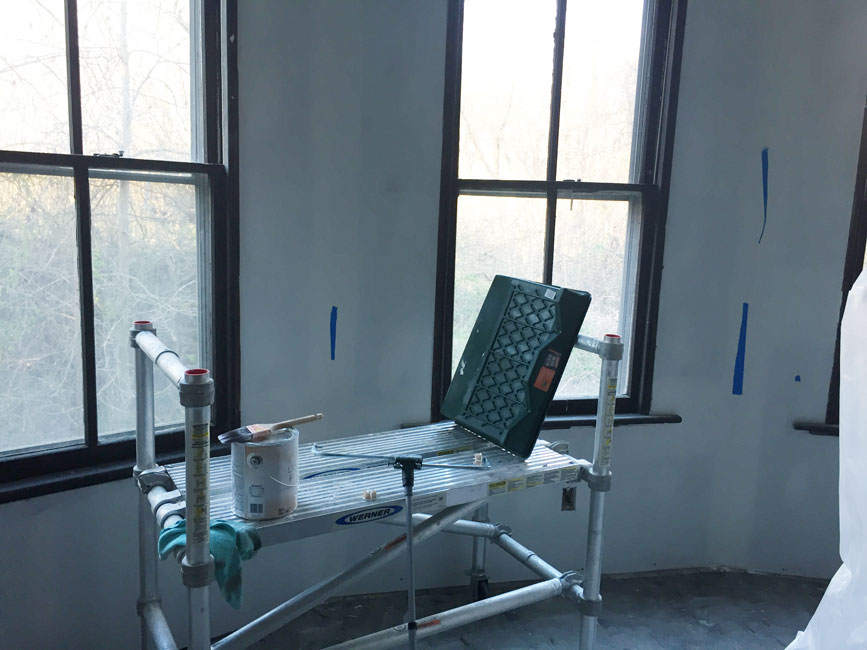
The blue tape shows the drywaller the areas he needs to finesse before the paint goes on.
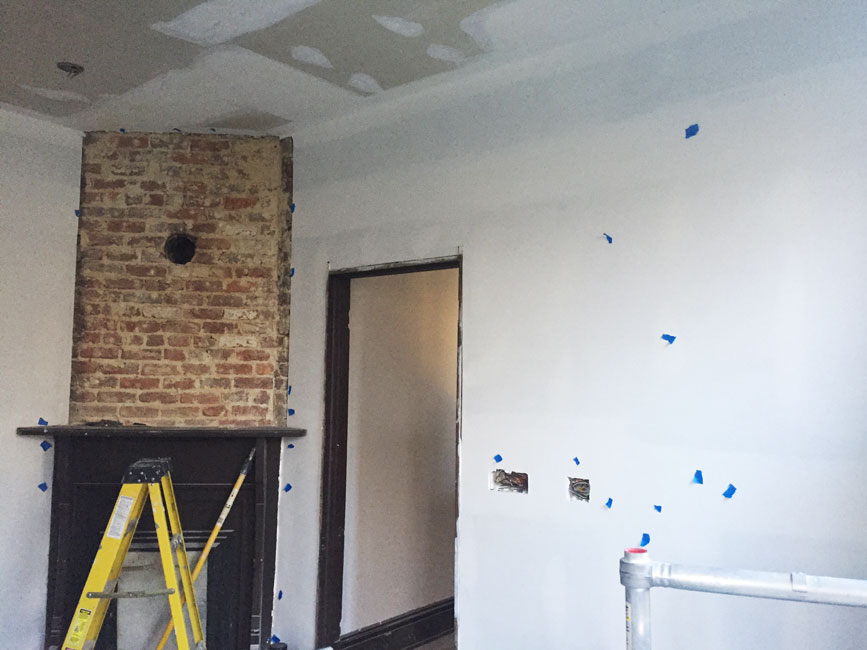
Let’s just say that my attention to detail is far more acute than the drywallers! Eventually we made it through the touch ups, but this portion of the job was agonising.

Just the ceiling to go!
And now for the floors.
I mentioned that my husband and I decided to do the floors ourselves in the first post of this One Room Challenge™. series. As a reminder here is what they looked like.
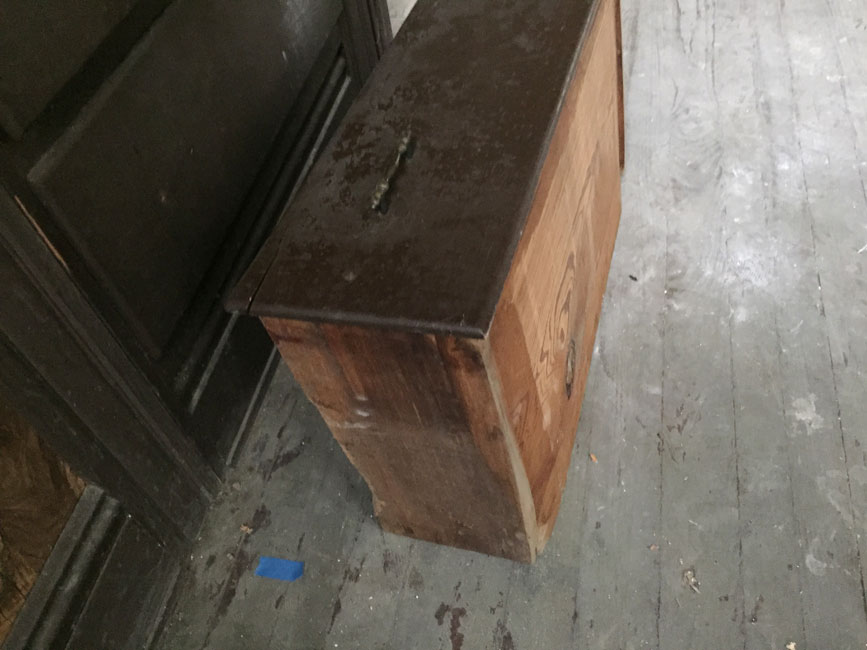
All of the grey is glue from a previous surface glued to the hardwood. Our floor sanding crew was myself, my husband, my brother and my neighbour.
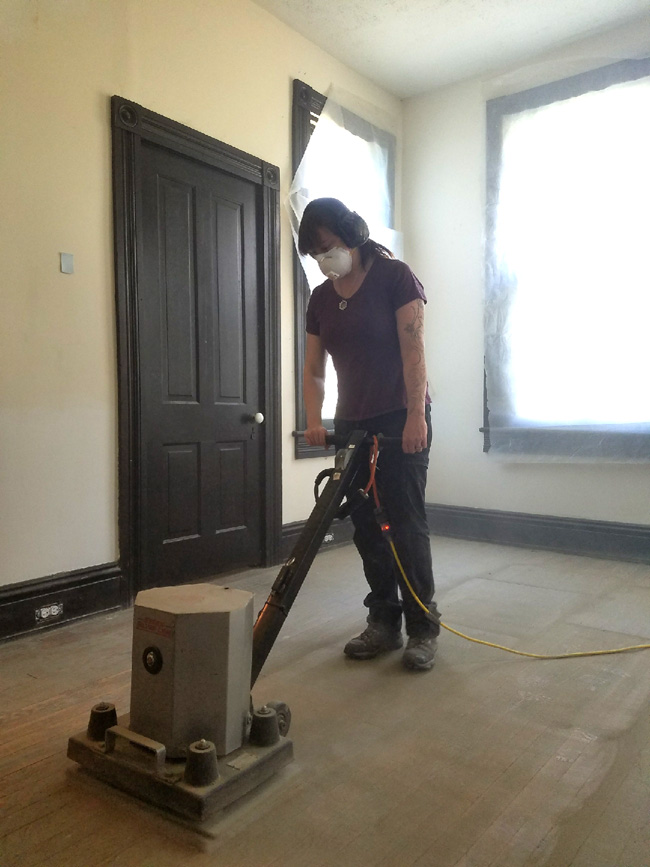
This is me in the adjoining living room sanding this room at the same time as the kitchen. This is one of the machines we used.
Floor sanding causes the worst dust out of all the dusts I’ve introduced to you so far! As the fine wood dust lands on your skin it sucks the moisture right out of it. I changed my face mask nearly every hour as the fine particulates would clog it right up.
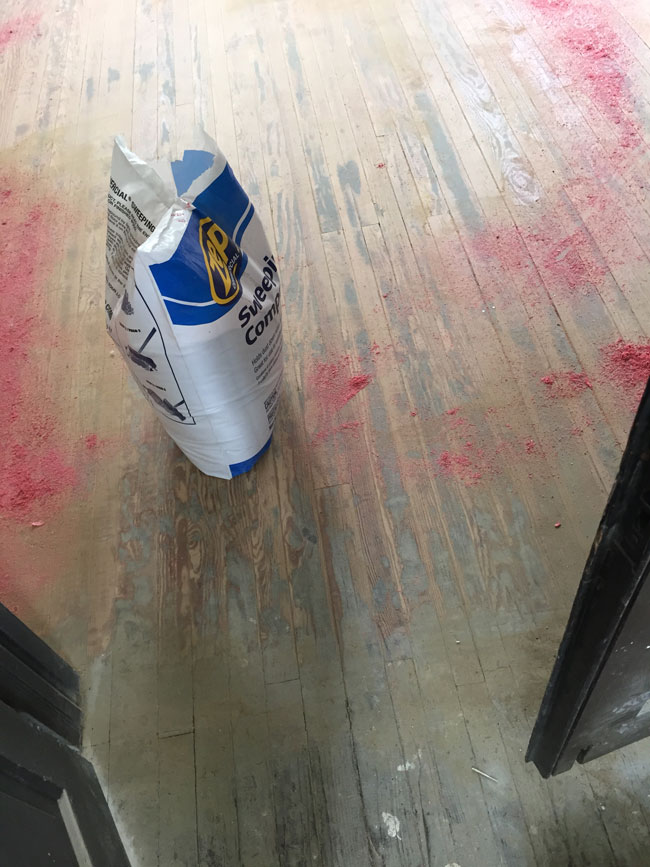
This sweeping compound helped keep the dust on the floor while sweeping between each sand.
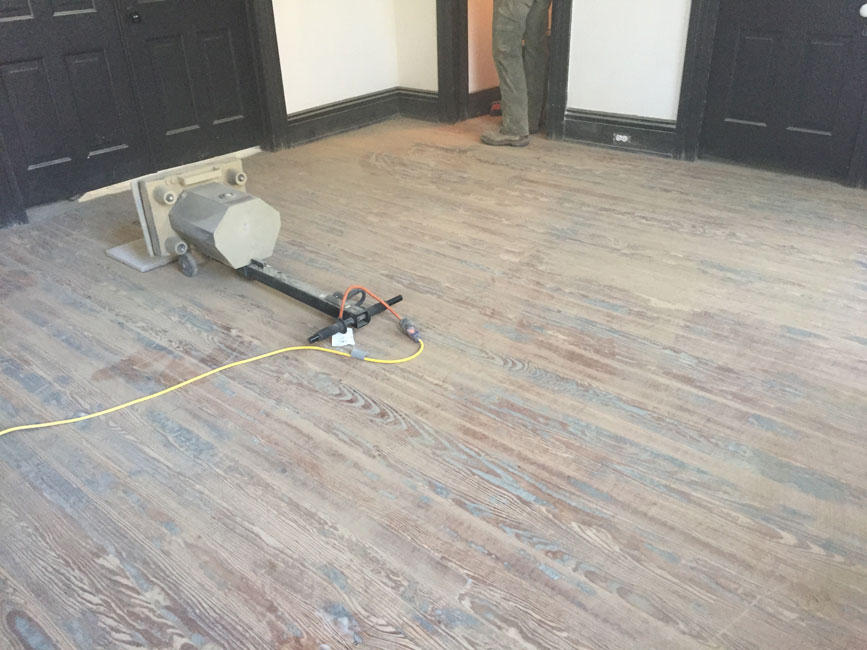
It’s getting there. The grey you can still see on the floor is glue still stuck on the floor. Because this home is so old, the wood on the floors is cupped, which basically means some areas are lower than others and we must use different tools to remove the remaining glue.
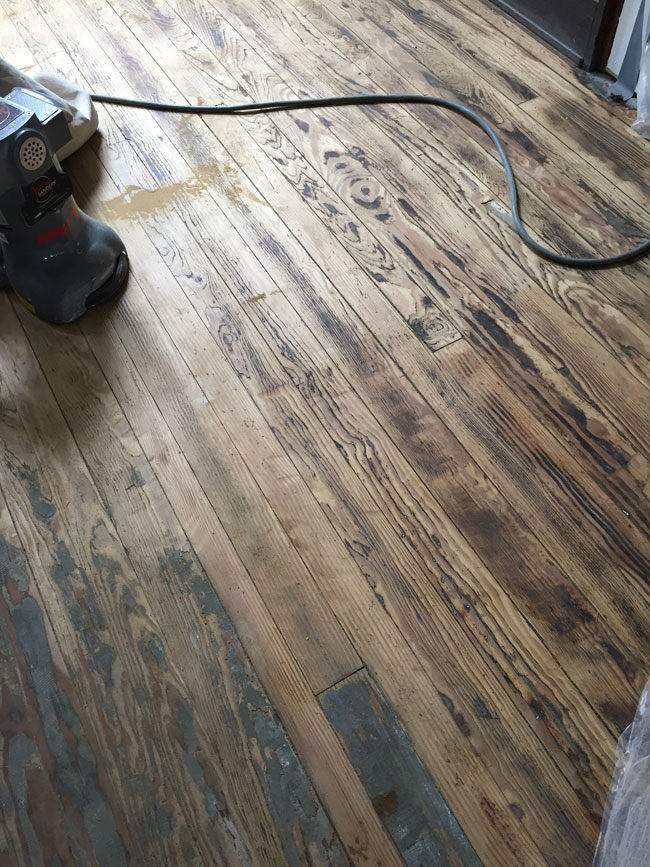
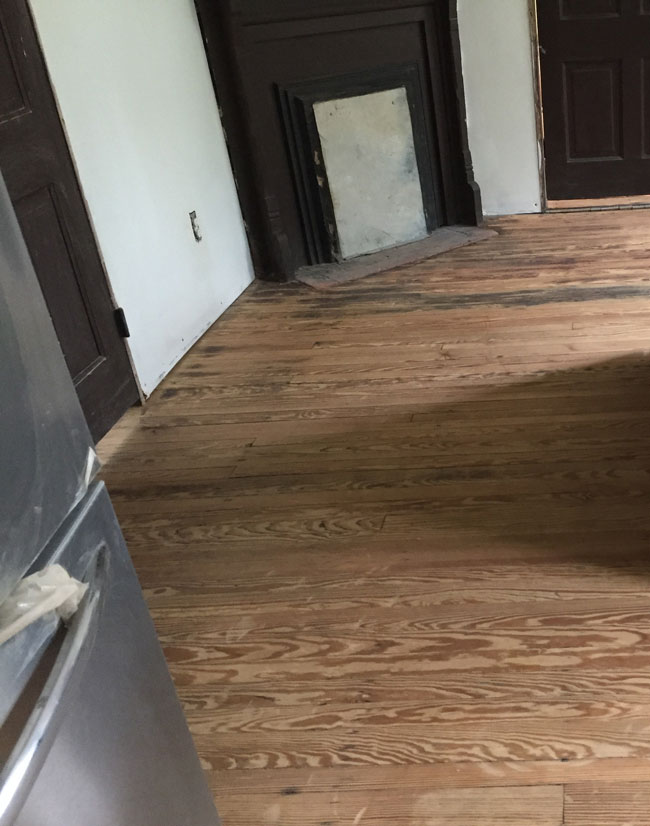
Ready for stain!
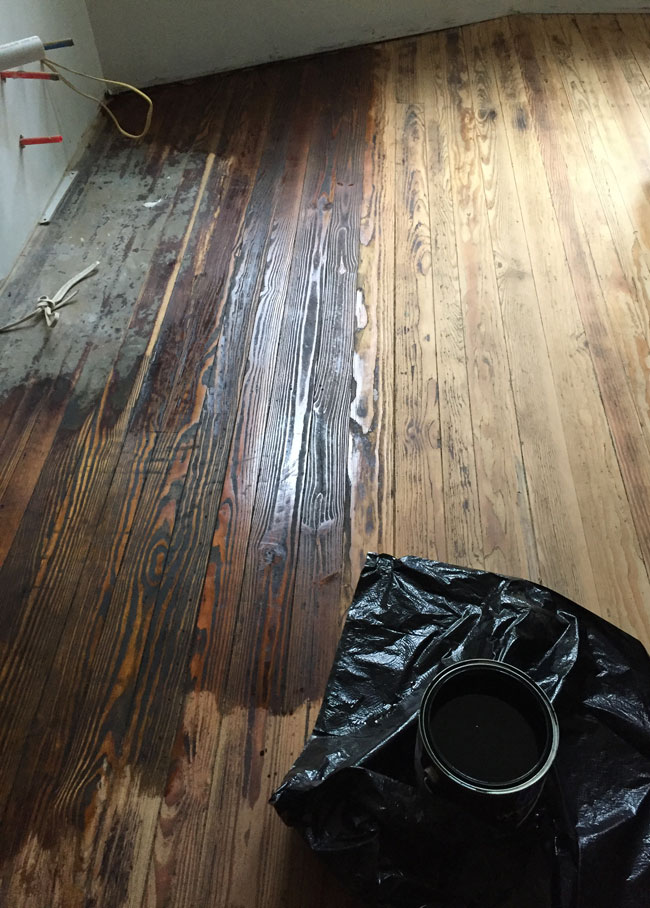
Now before you say, “wait a sec Lora, you missed a spot!” I opted to leave the portion in the top left corner as is, as it will be under the cabinet. Seriously the glue removal was something else!
Here is the stain going on. Floor staining is rather meditative for the first 30 minutes, after that my inner child starts whining, “are we done yet?” Ha!
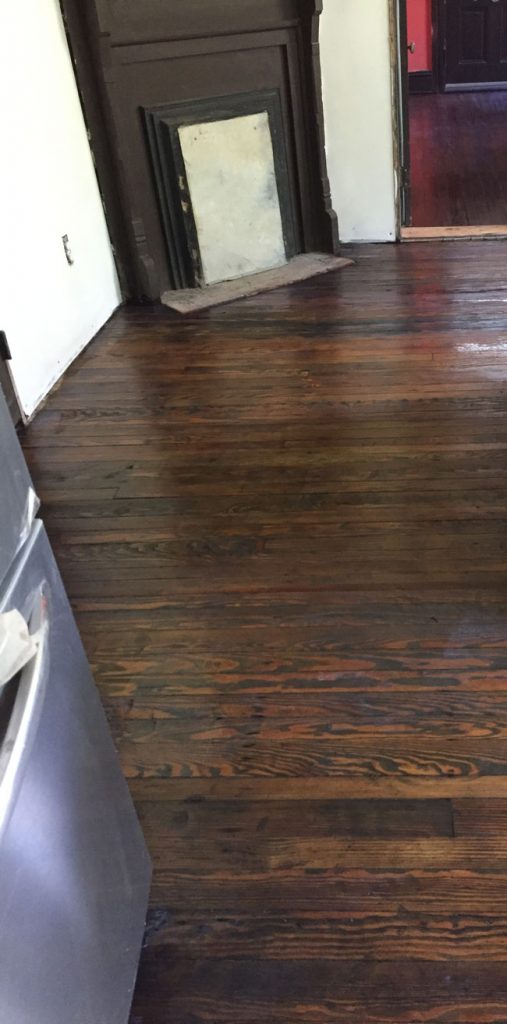
Here is that same shot of the bare floors now with stain and poly on it!
And on to the Trim!
When the wood trim was removed, it came apart in pieces.
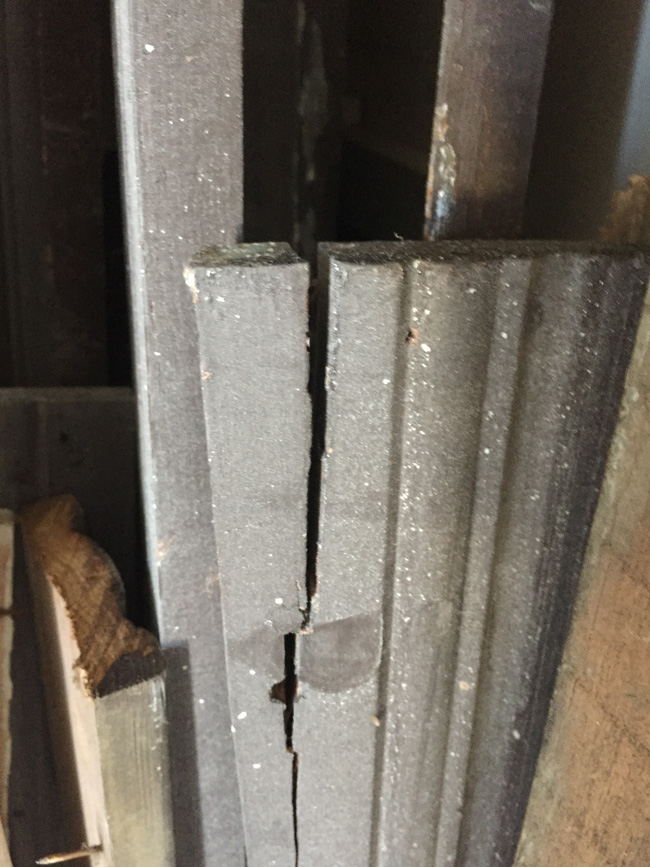
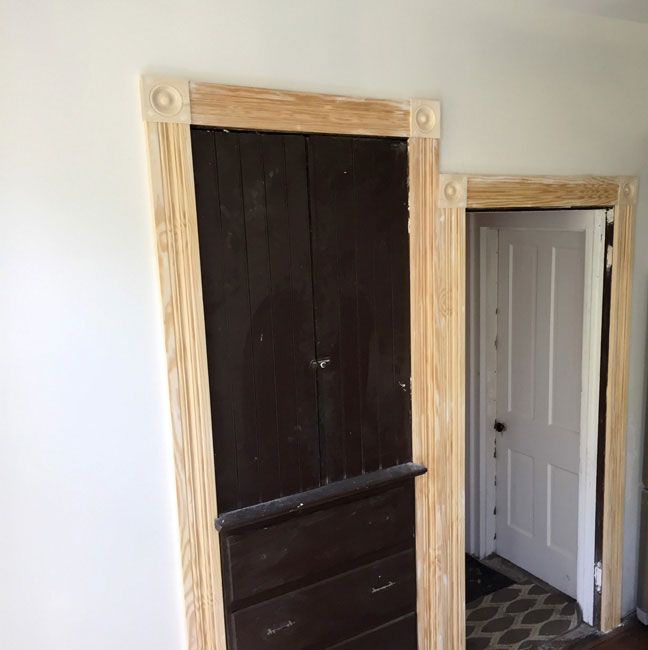
Some of it was salvagable, but most of it wasn’t. A big part of the charm of this Folk Victorian is the millwork! The entryway, living room and study all have this same gorgeous trim.
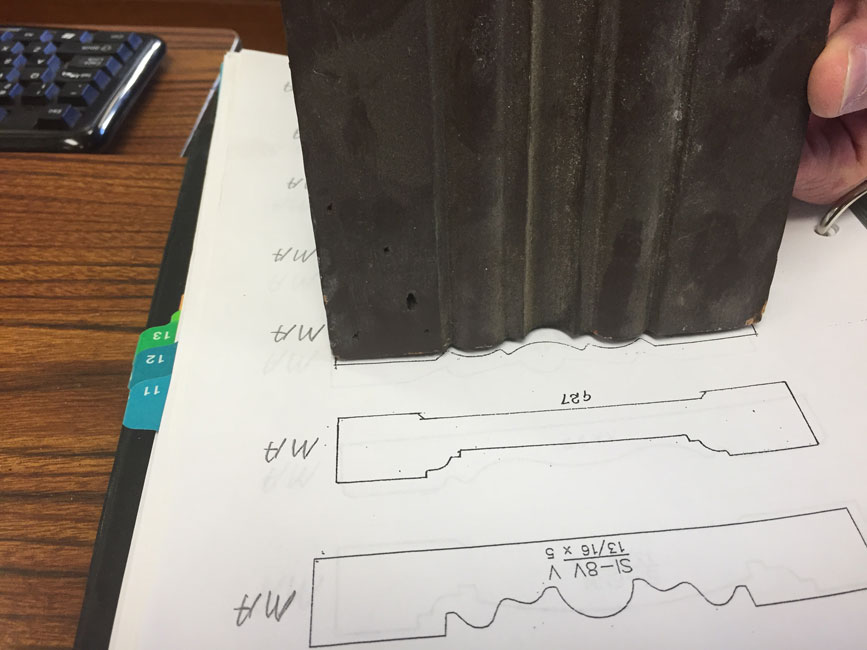
I went down to a wood shop that specialises in architectural trim and they had a knife already cut that is so close to the original it would be hard to tell them apart. See photo below.
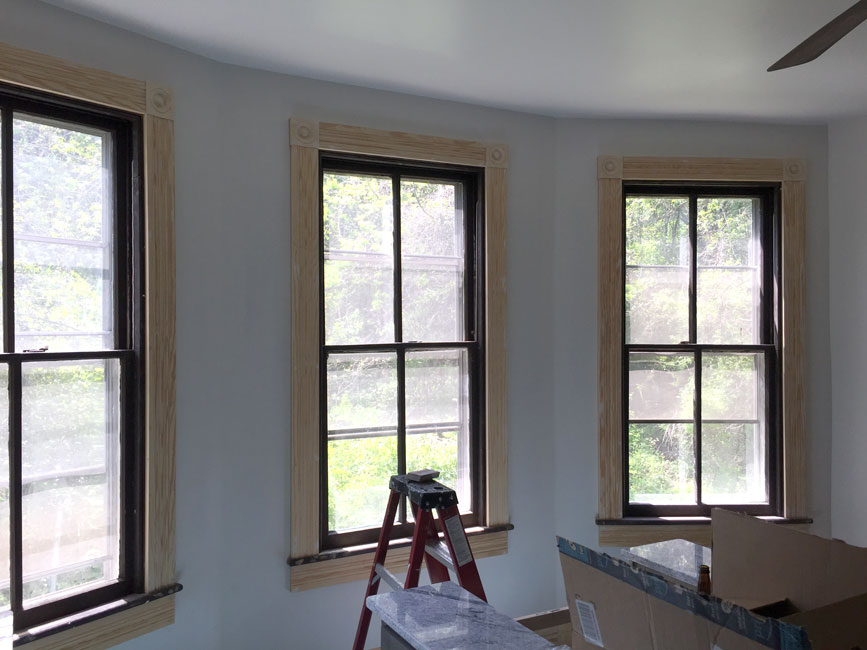
The new trim arrived and got installed.
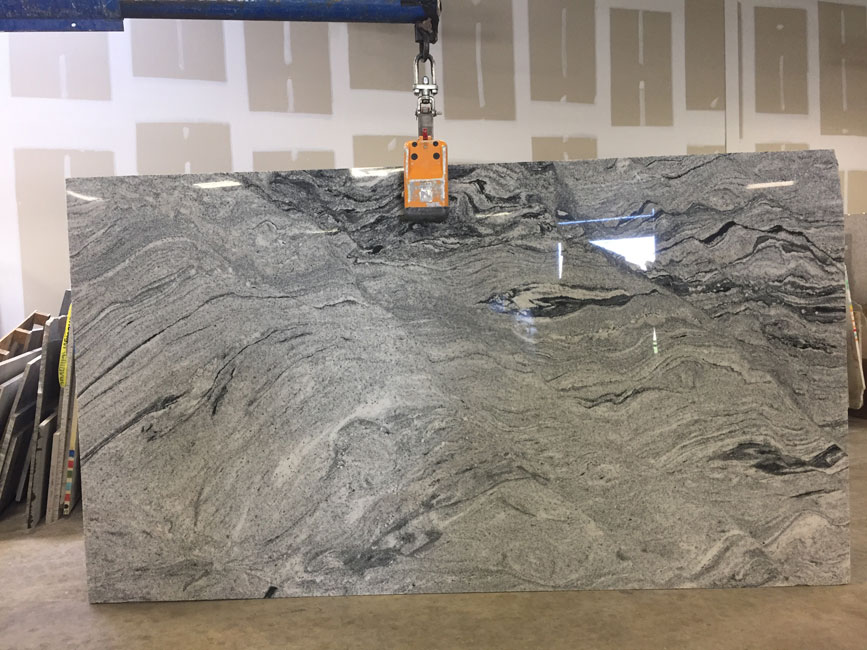
I’ve also chosen my granite slab and had it laid out at the granite suppliers.
Here it is, you totally guessed right! The movement in this particular slab “had me at hello”, so I was 90% sure I would choose this one. In fact, immediately after seeing the cabinet maker and seeing the samples I called the granite supplier and asked her to hold that particular slab for me!
That’s it for this week in the One Room Challenge™. Next week we’ll have the electricians installing the lights and appliances, and the cabinets and granite counters will get installed. I’m busy doing the final painting and making some live edge floating ash shelves.
Don’t forget to check out what the selected designers and other guests are up to in the One Room Challenge™.

———-
Did you miss previous posts in this series? Check them out here.
Week 1 – Adding a Kitchen – The Before
Week 2 – Kitchen Layouts and Plaster Dust
Week 3 – Electrical, Plumbing and HVAC
Week 4 – You just read it!
Week 5 – Cabinets, Counters and Lights
Week 6 – The Finale – Light Filled Folk Victorian Kitchen
PS – I’ve gone back and forth a few times on the paint colour for the trim. What do you think would you paint them light or dark?

New walls make it all seem real. You and your crew have worked so hard during week four. I’m impressed by your progress.
Thanks Stacy! And yes the walls do make it seem real for sure!
I’m really loving following along with what you’re doing! It’s so interesting to watch a house transform like that.
Thank you Stacie, I agree it is pretty fascinating to see it transform.
Those floors are going to be so beautiful once it’s all said and done. I never realized how much work goes into remodeling a home like that.
Thank you Colleen. I know the amount of work is intense for sure!
I love how this is coming together! The floors and trim are looking really nice. You’re doing an awesome job.
Thank you so much Brianne, I’ll take all the encouragement I can get 🙂
Great Work Lora!!! I am loving following along, and cannot wait to see what is next.
Thanks Cindy!!
The floor looks great! So much work, but totally worth it once it’s all done. I LOVE the granite slab you chose!
Thanks Theresa, I love it so much too!
Oh wow, the floors are stunning!
Thanks Gina!
Wonderful progress. I cant wait until it all comes together!
Your kitchen renovation is intense for the short amount of time allowed in the One Room Challenge. But your hard work will pay off with a completed Reno kitchen. Looking forward to the final reveal day. Looking great, the wood floor looks awesome!
Wow! I love seeing the progress of all of your labors on the house. The floors look amazing!
Wow! That is a huge undertaking for a 6 week challenge. Floors look amazing though!
Love this. The floors are amazing. Great job!!