When we purchased our property I was deeply curious about the history behind the three cinderblock walls and concrete pad that had fallen into disrepair.
Here is the story as I know it. Many years ago, a woman named Jessie and her sister decided to start a chinchilla raising program to sell for their fur. Have you seen how adorable chinchillas are? As an animal welfare advocate, I have to say that I was pretty happy to hear that their business didn’t quite go to plan and they ended their operations!!
At some point there was a fire and I haven’t found out when the fire in the structure happened, but it must have taken the roof and maybe even the front wall?
Here it is before work commenced:
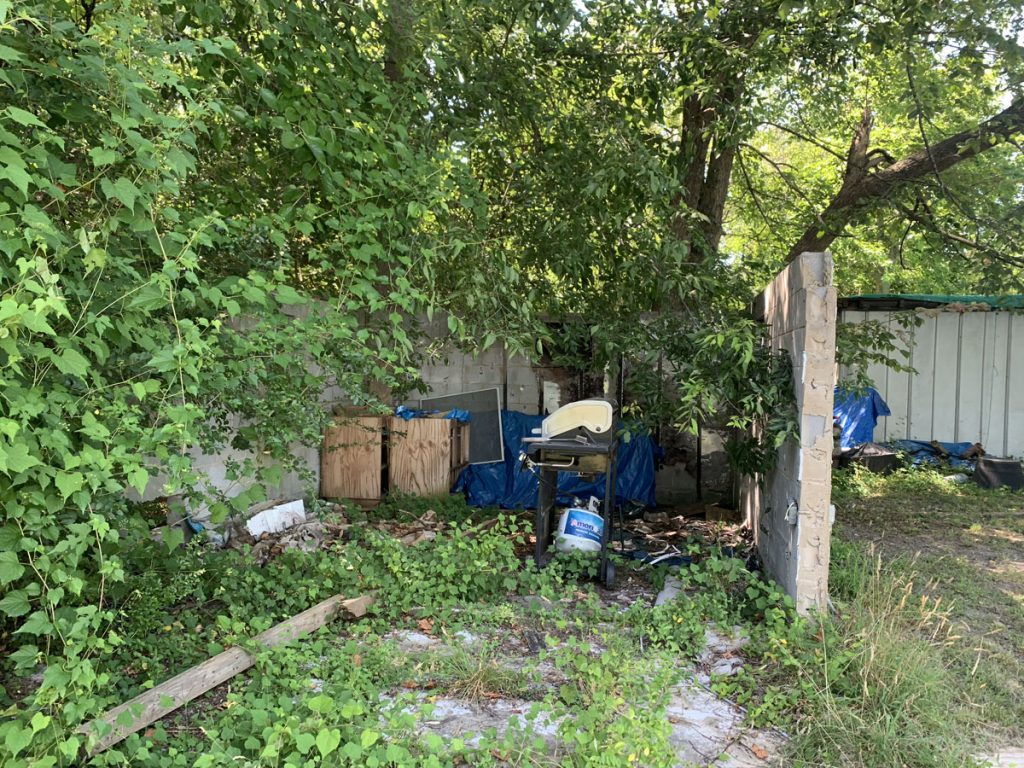
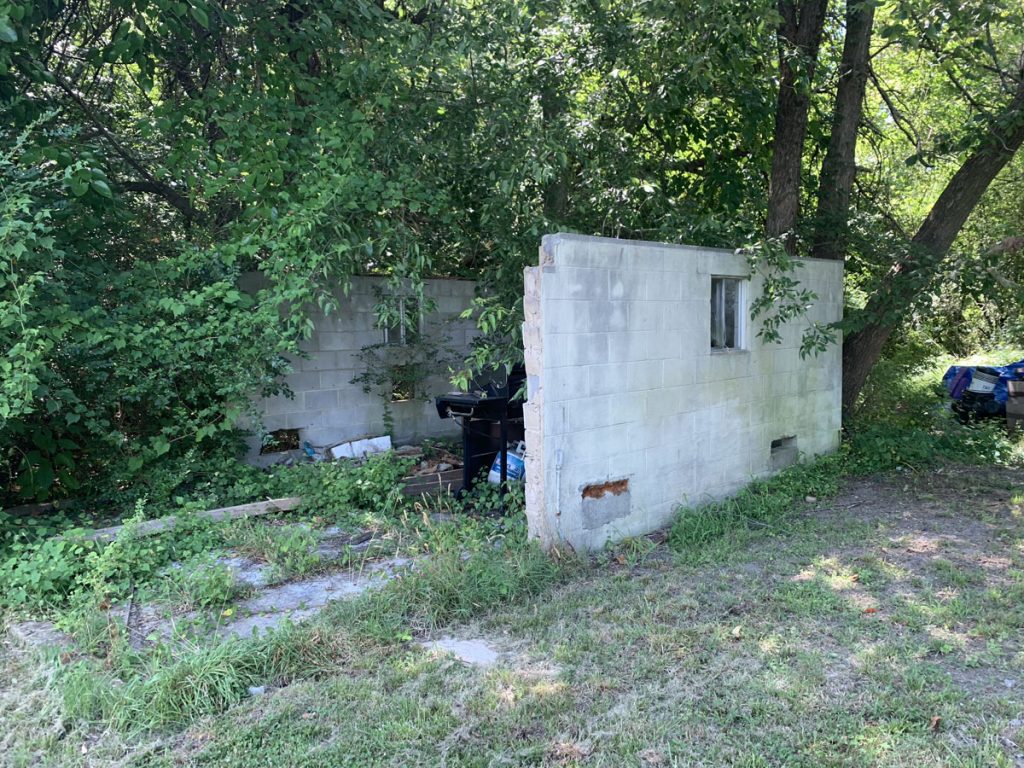
Overgrown with the swiftly growing privet, porcelain berry, and under maintained trees.
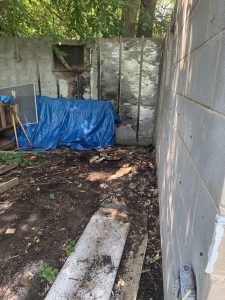
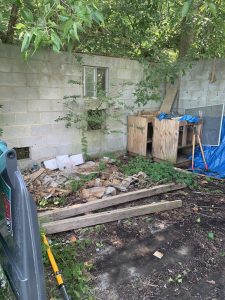
Sporting two broken windows, various missing chunks in the cinderblock walls, debris from the previous owner, our renovation complete with a nest of wasps living inside one of the walls.
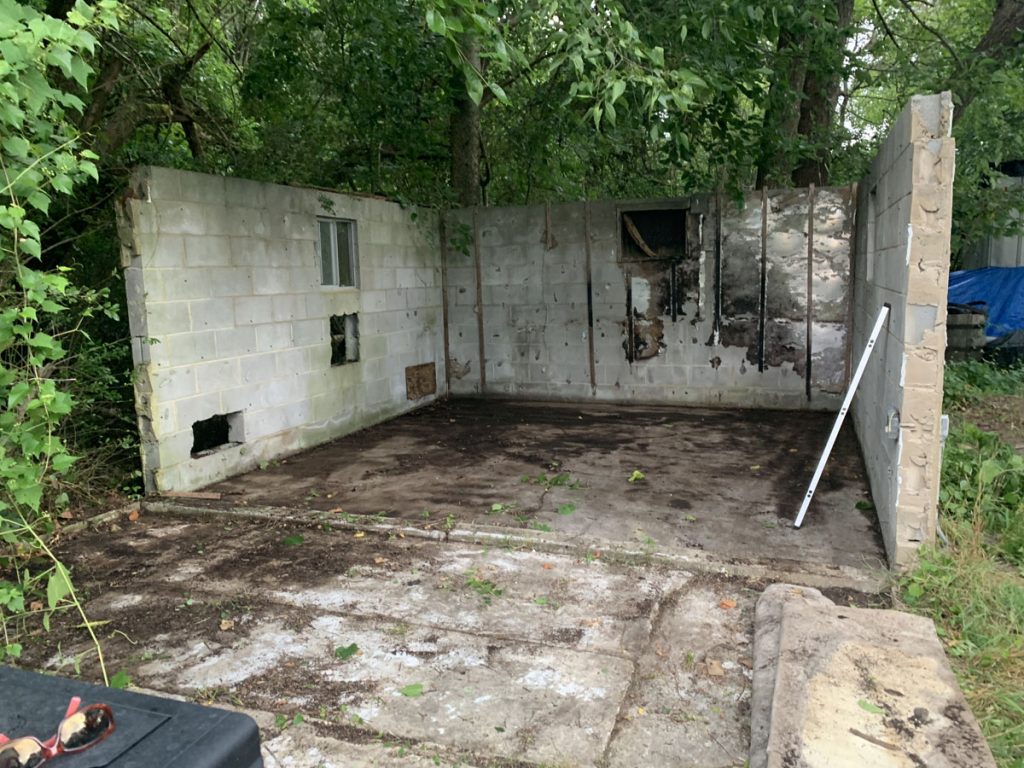
 As I love history, I decided to approach the design of this structure from a perspective of adaptive re-use. I would keep the floor and the walls, but add to as necessary to create a functional wood working shop with power, lights, AC and heat!
After using three cans of wasp spray, I tried smoking out the remaining wasps. They were persistent, but I eventually won. See the photo with all the cinderblocks installed!
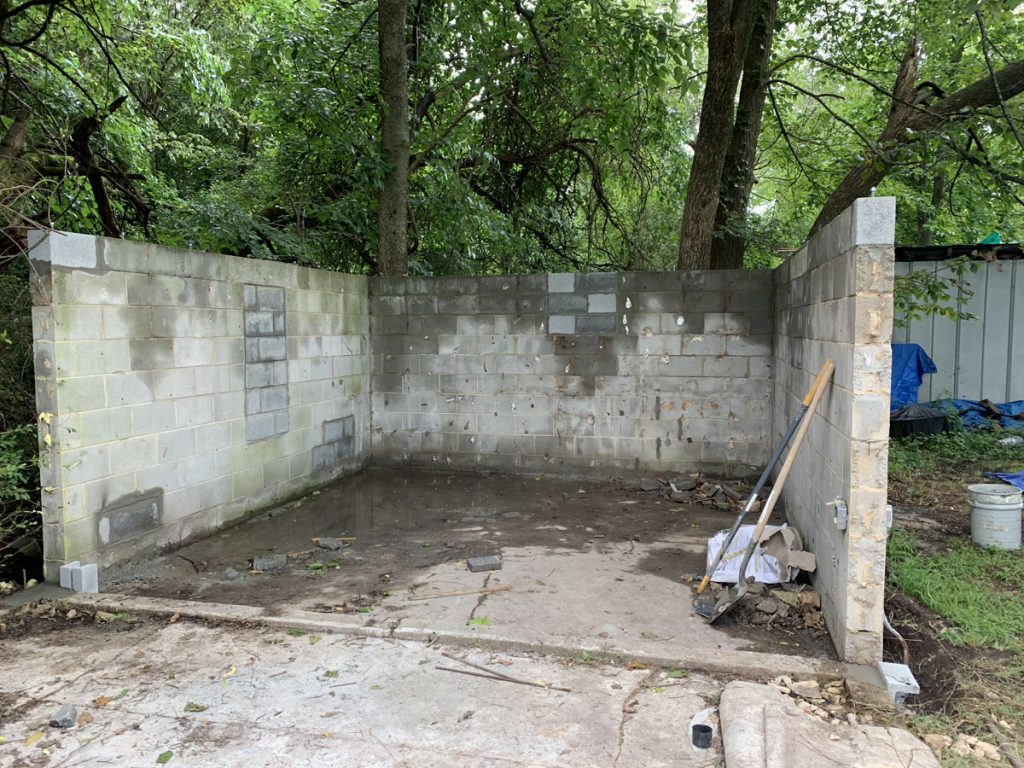
Here are the pony walls starting to go up! The cinder block walls are 7′ tall, so the 3′ pony walls bring each side wall to a height of 10′
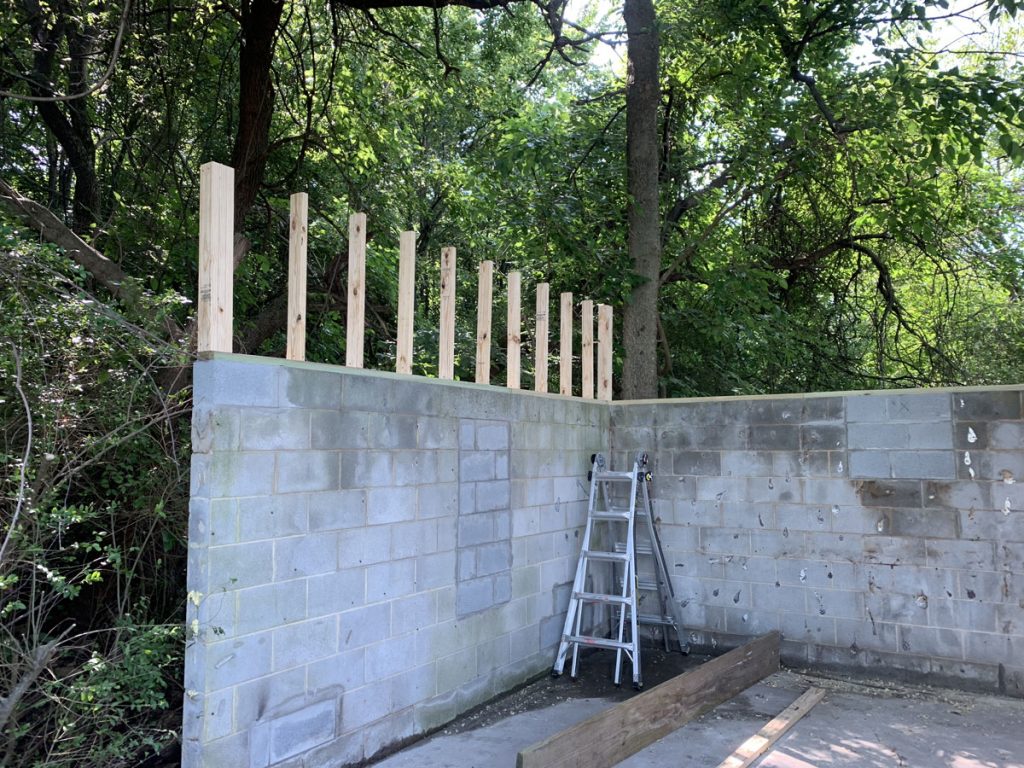
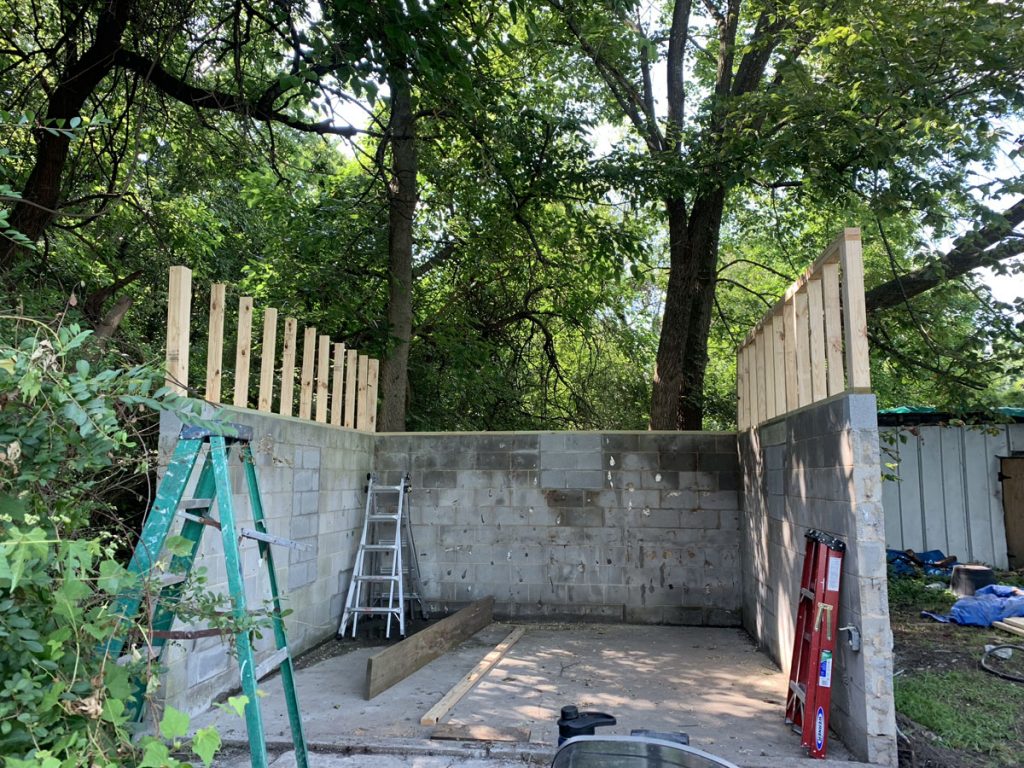
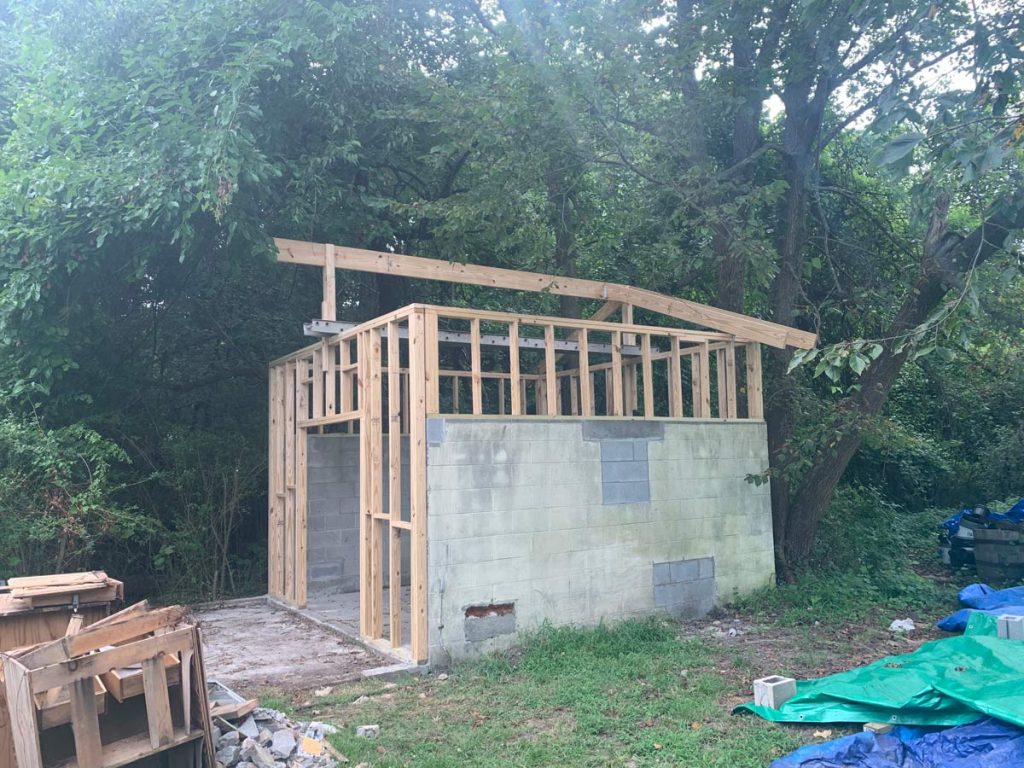
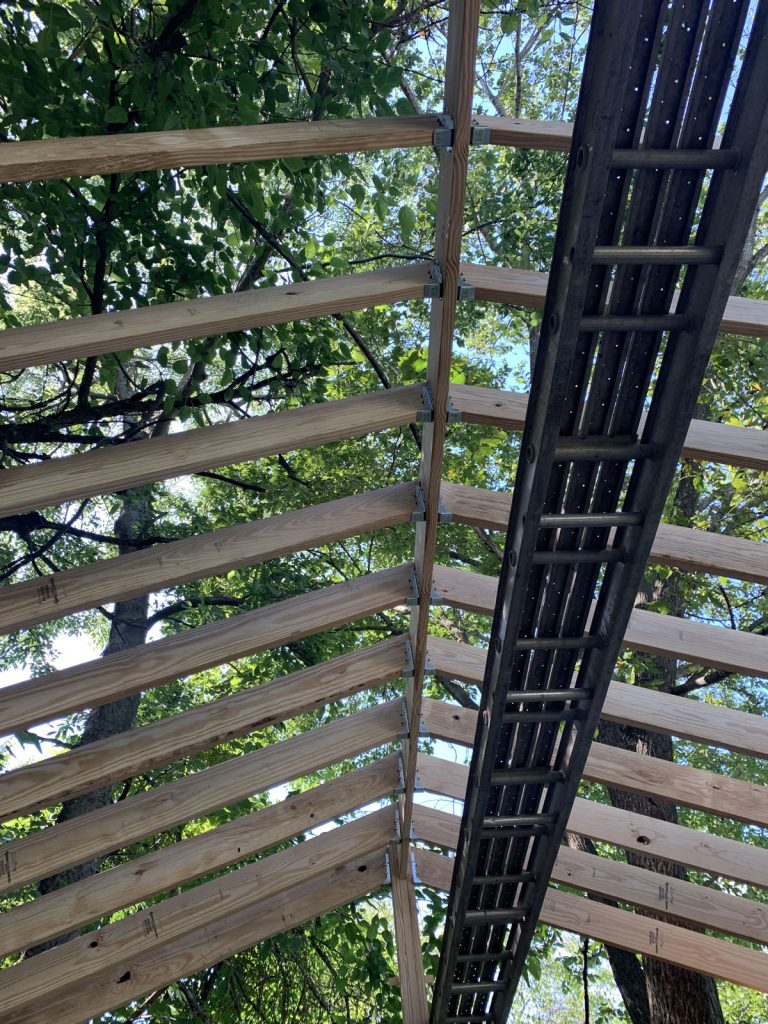
Next the Ridge beam was installed at a height of 13′ and we cut and built the roof rafters. Now it’s starting to look like a “real” structure!!
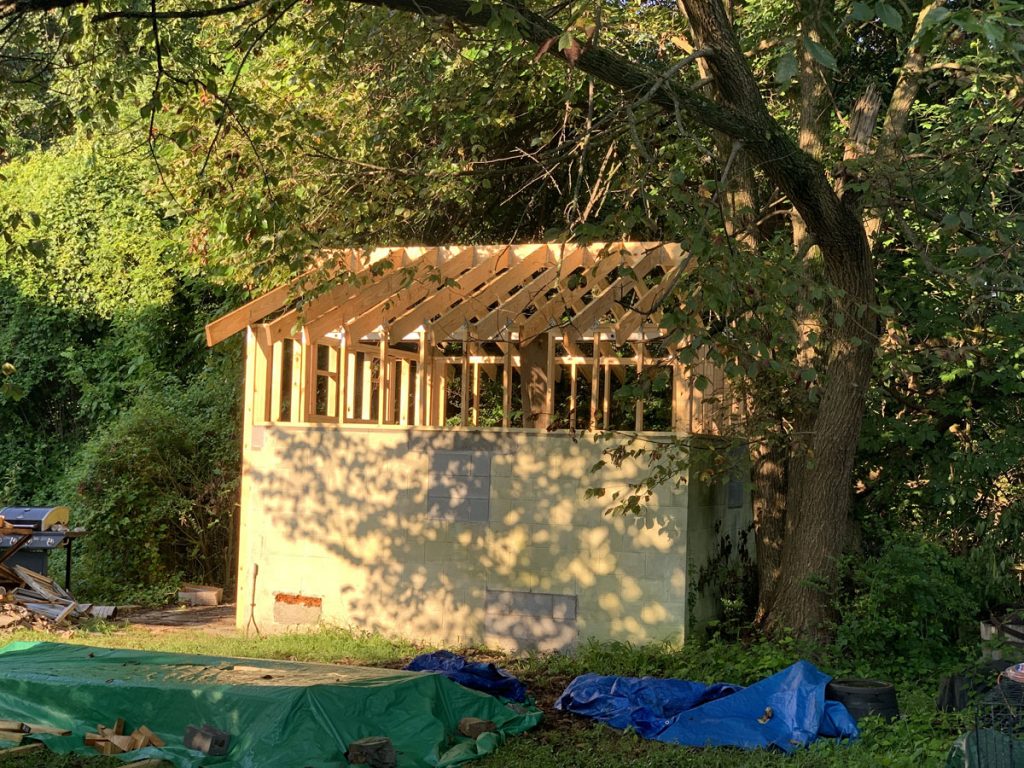
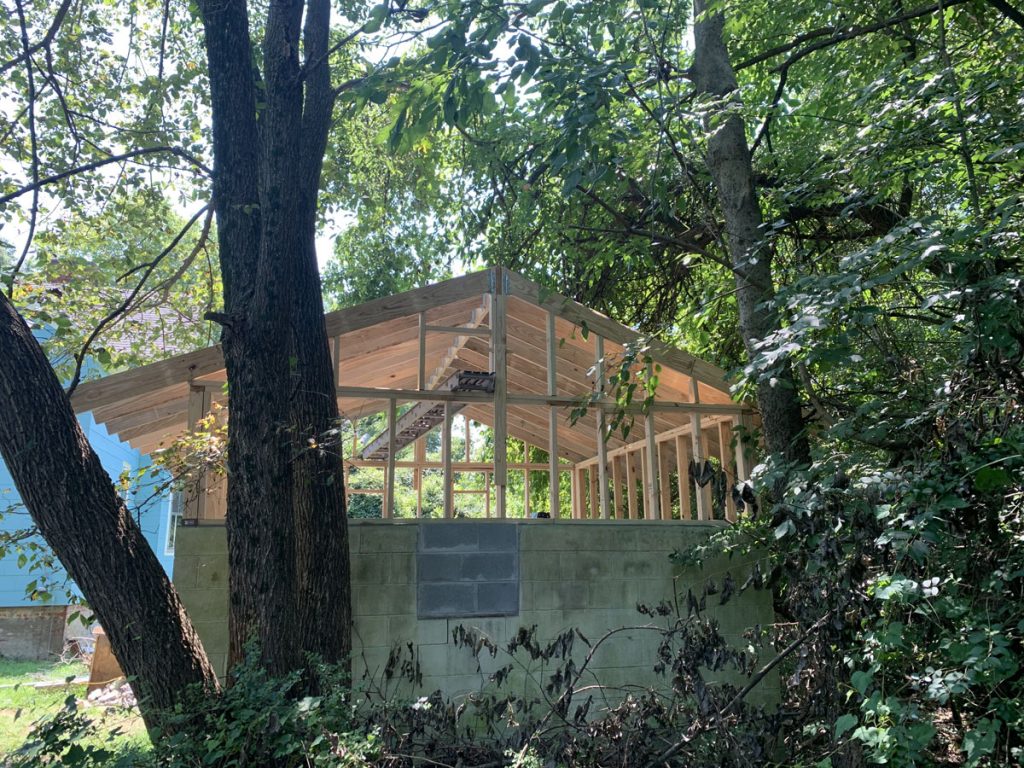
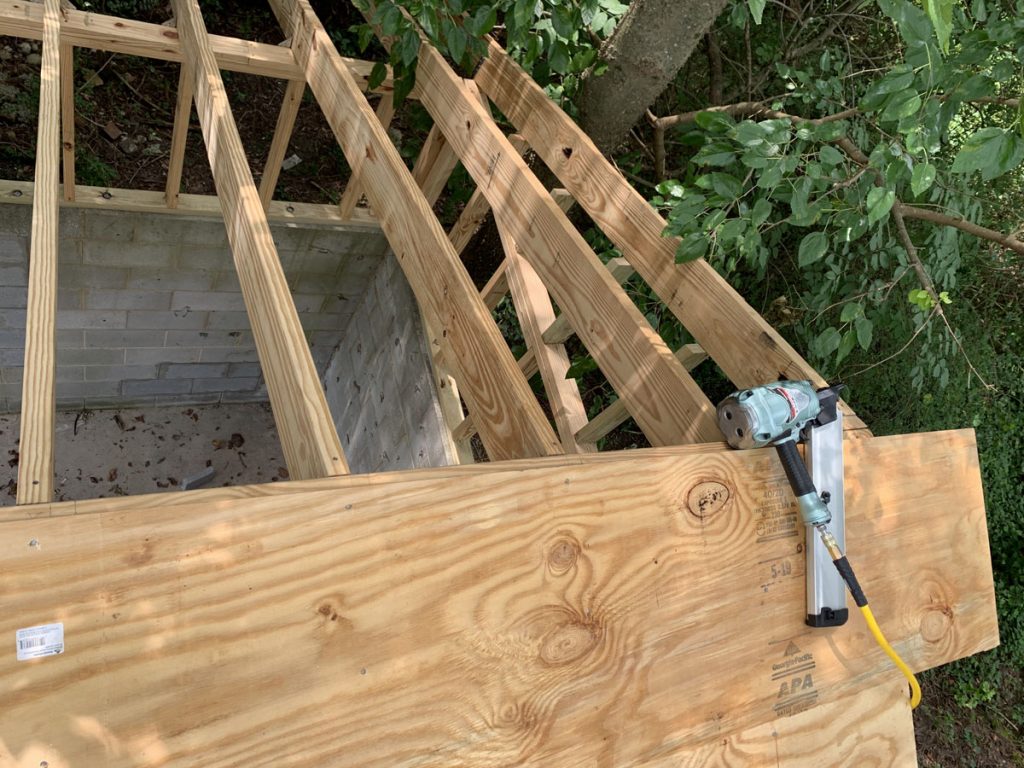
Next the sheathing layer (we used plywood) was added to the front, sides and roof. Once the roof was finished a layer of roofing paper was added to waterproof the roof while the metal was on order. As an aside, my Hitachi framing nailer has been one of my favourite purchases to date. I went through nearly two full boxes of nails (and countless screws) while building this building!
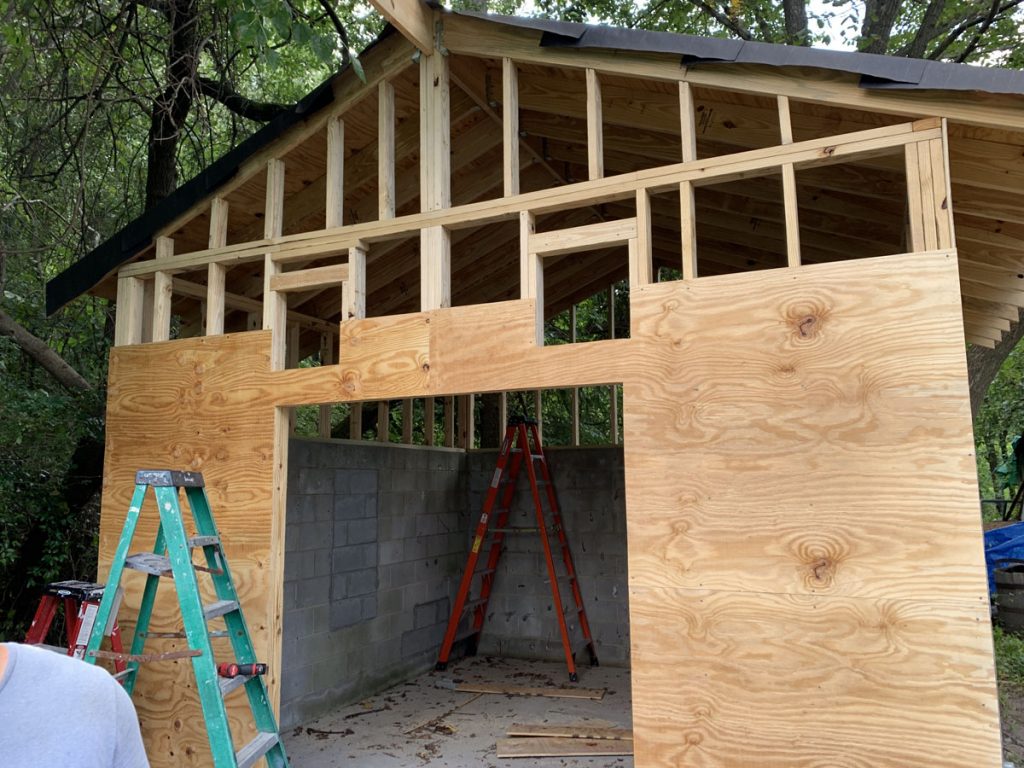
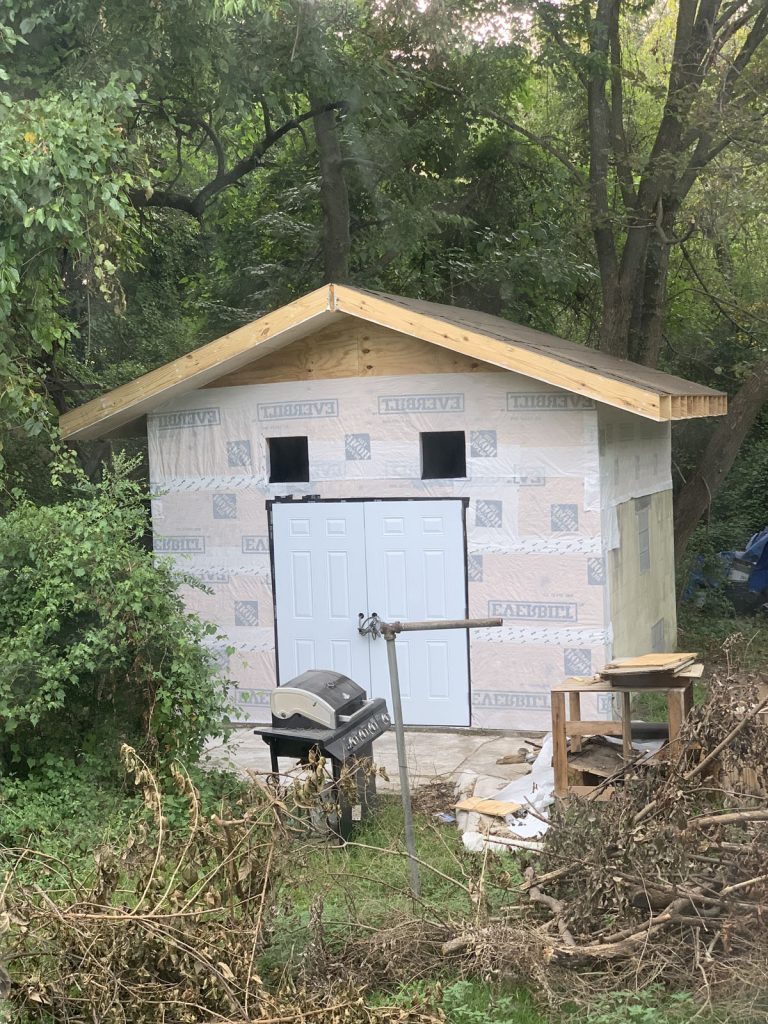
Next I added house wrap, sill plates for the windows and the windows and doors were installed.
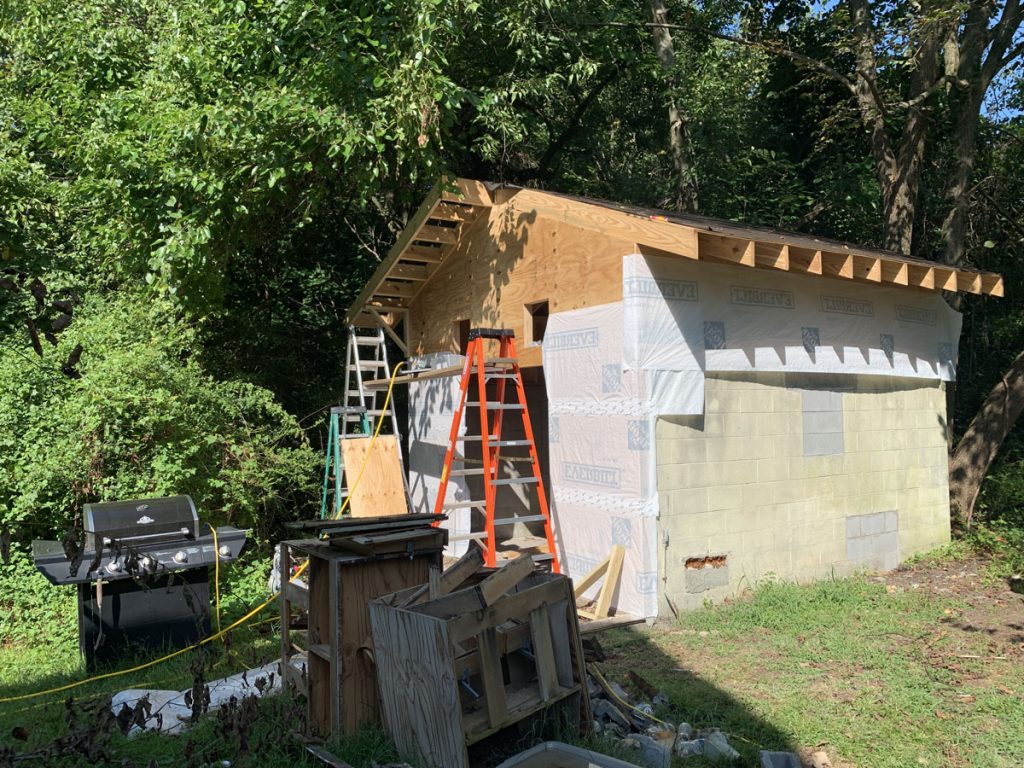
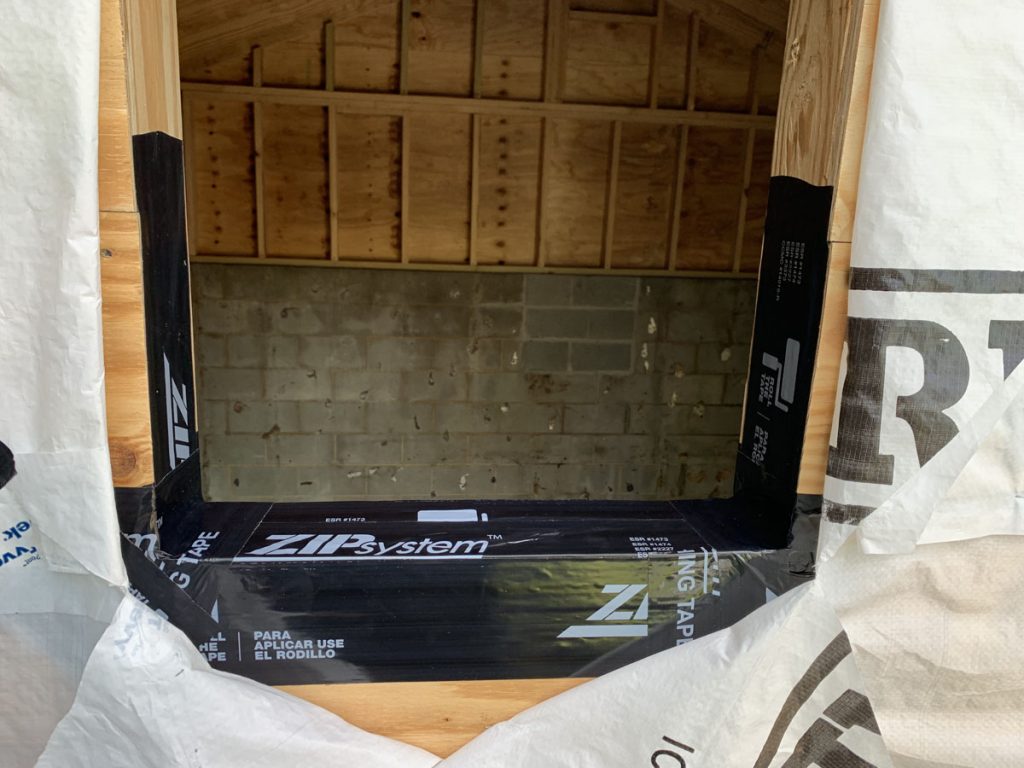
Here I am pretty happy with the progress so far!

The fascia and soffit got cut to size and nailed in placed before being primed and painted. The fascia is the white trim you see, and the soffit is the underside of the overhang.
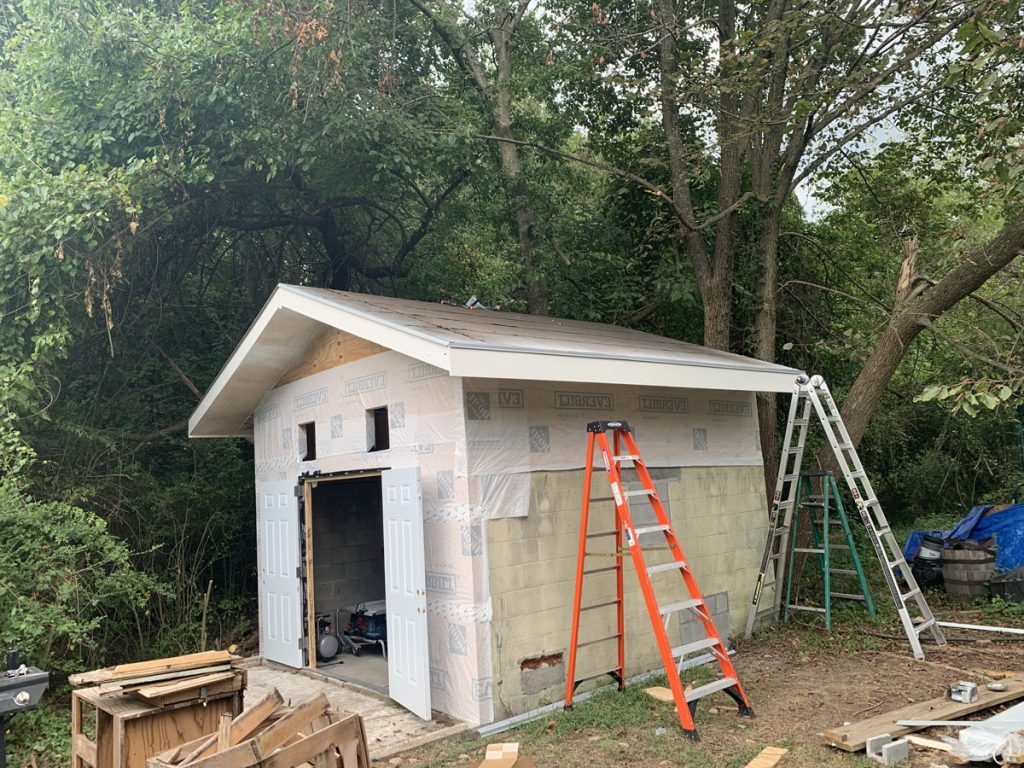
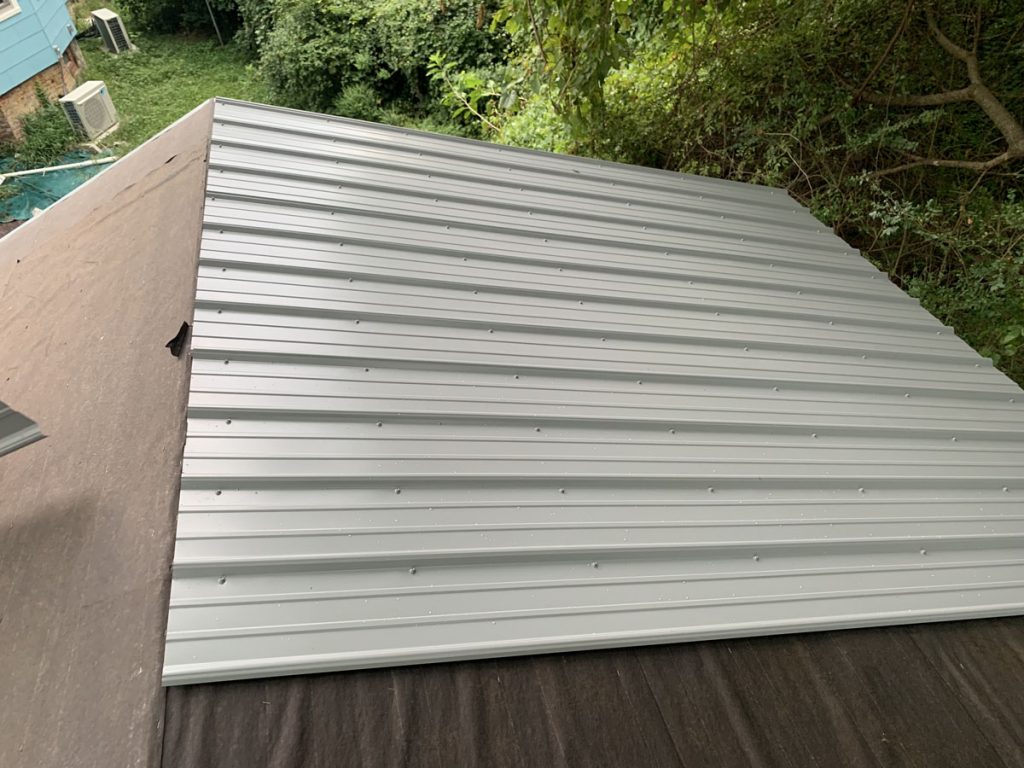
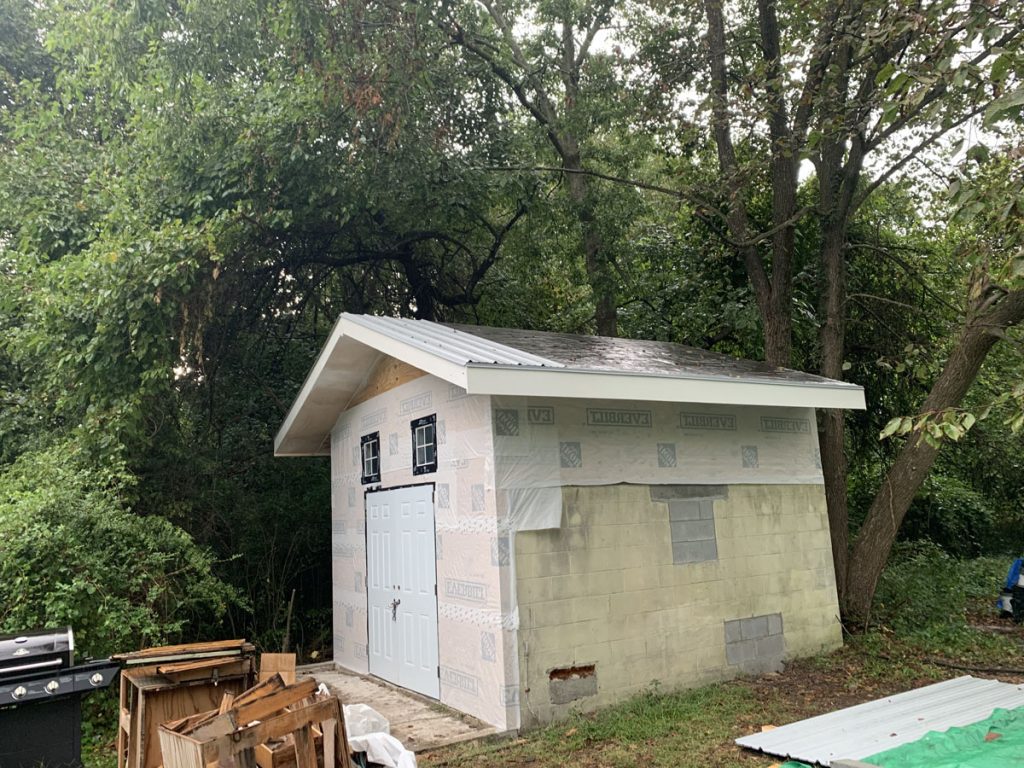
The metal roofing material arrived and we got that screwed in place.
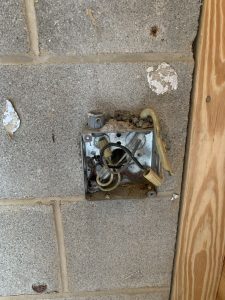
This is what the electrical looked like before I ripped it all out and started fresh!
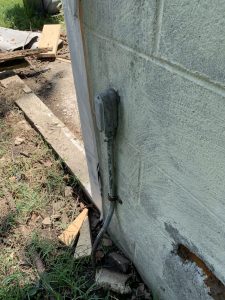
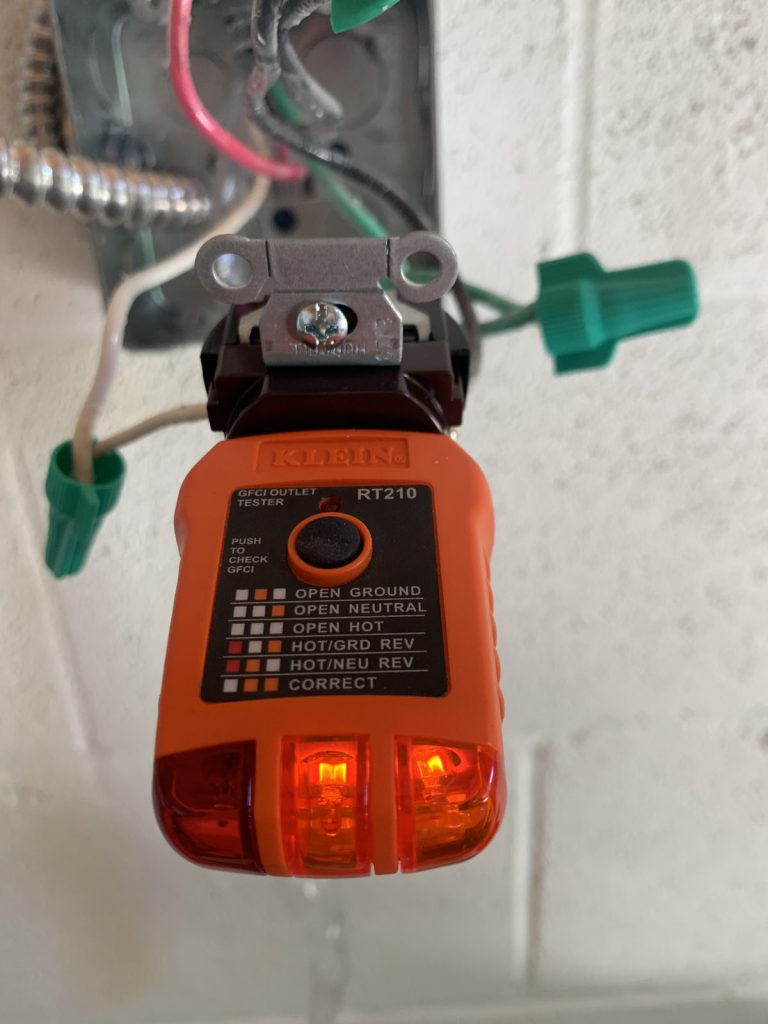
All wired in correctly!!
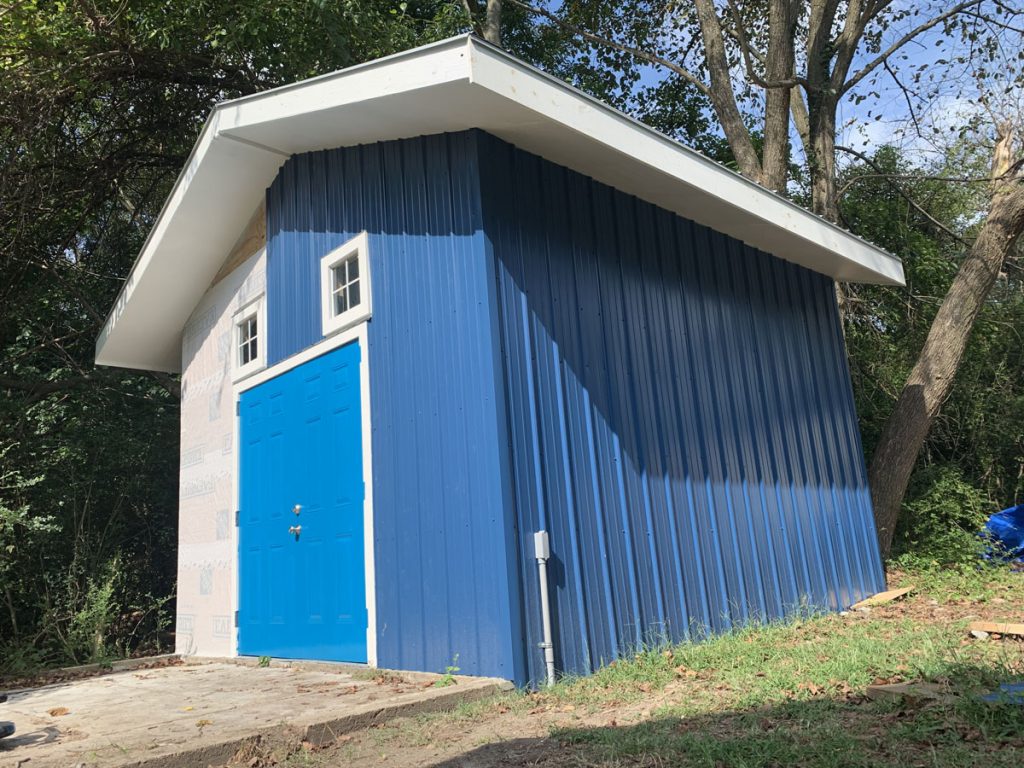
I opted for metal siding for the outside of the structure, as it’s easy to maintain and will last a really long time. I am so happy to not see the ugly cinderblocks anymore!!
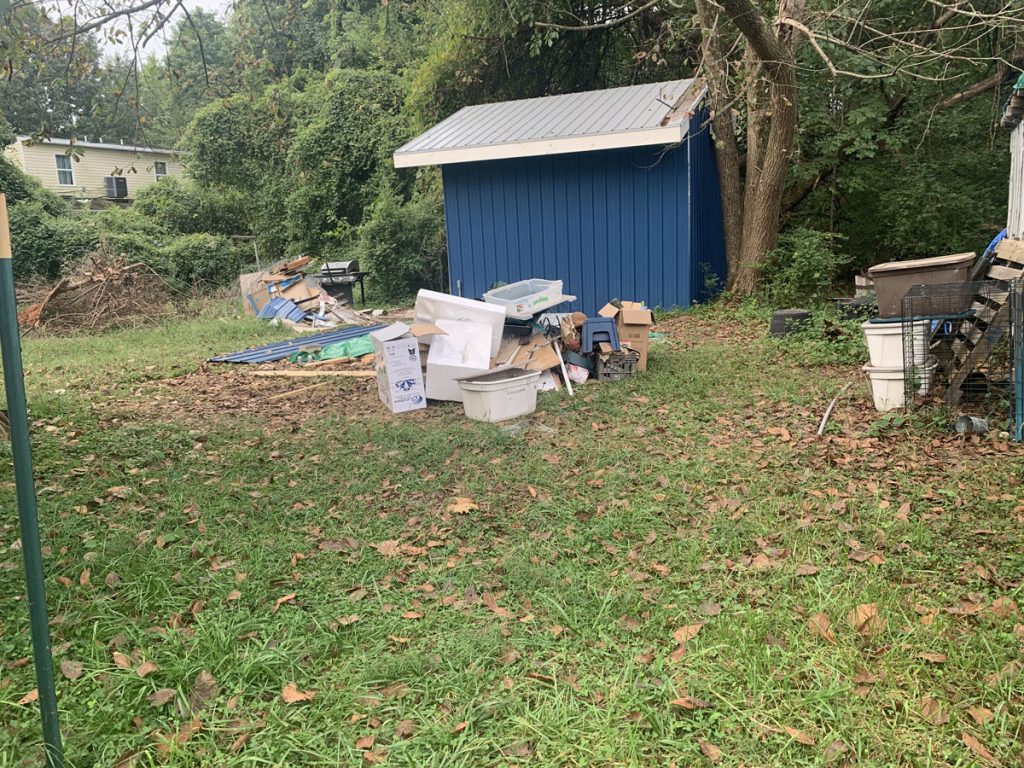
Here is a look at all the debris I collected from the overhanging trees, debris from before the build started, along with construction debris — it sure adds up in a hurry!
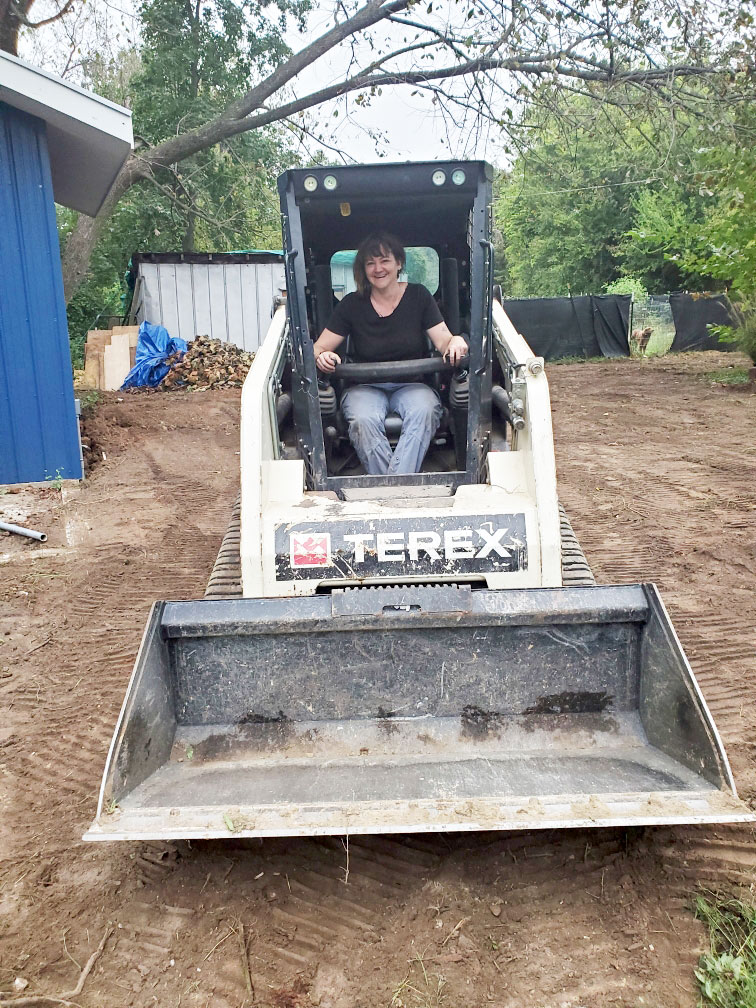
I’ve been wanting to grade the area surrounding the shop ever since we bought the property, and so we finally brought some machines in and graded the land and cut down a few trees that were close to the structure.
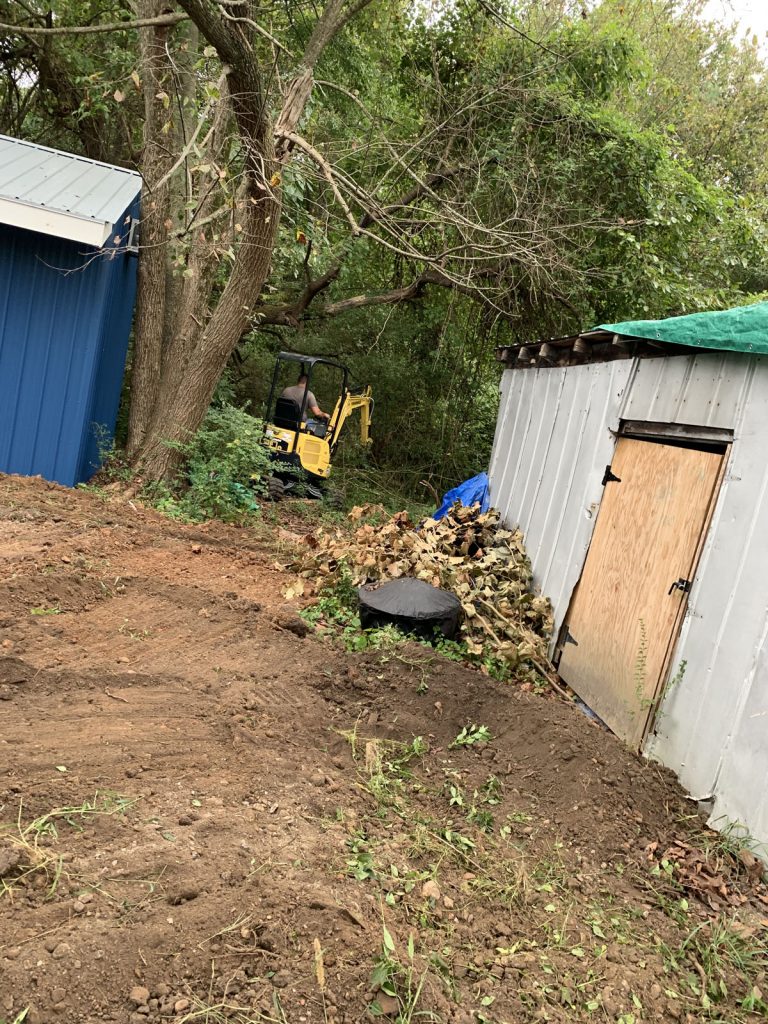
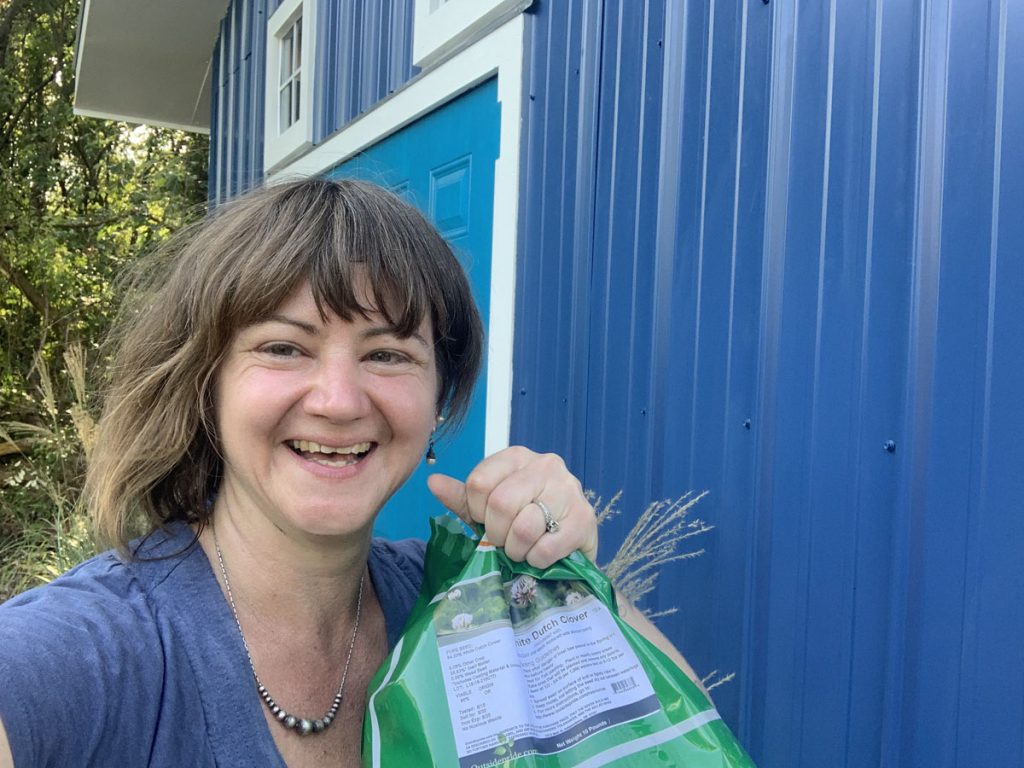
Once the earth was graded, I raked out any large rocks and sticks and put down 12 lbs of clover seed as a better alternative to turf.
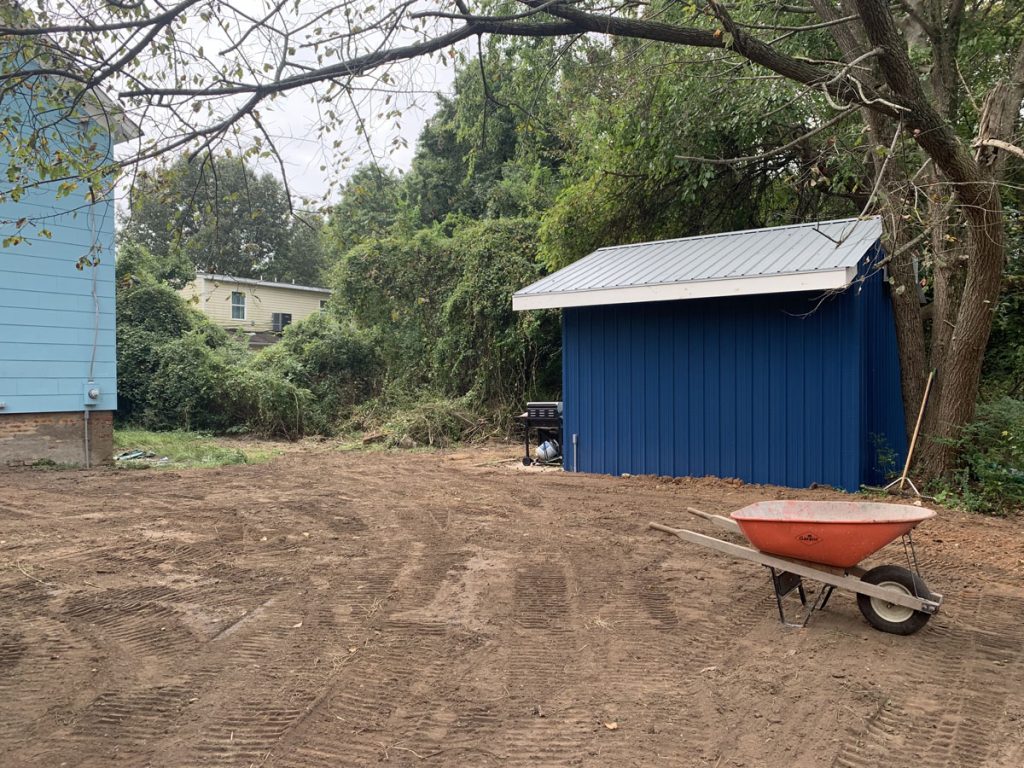
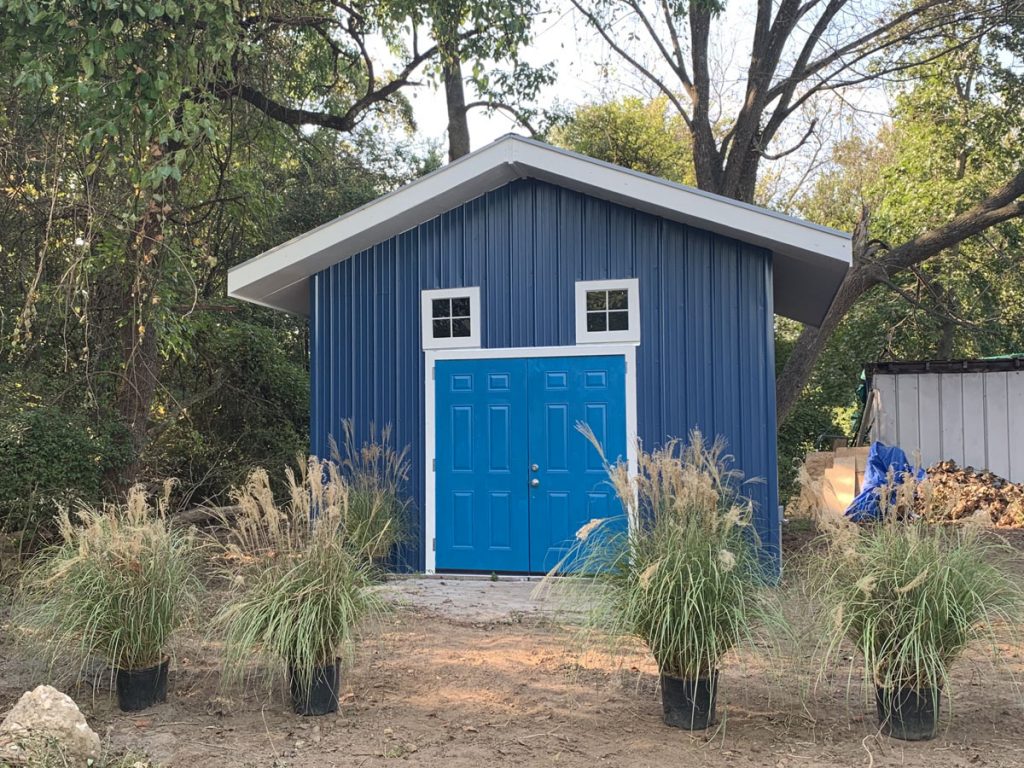
And here it is!! I’ve named it “The Chinchilla Shop” to honour its previous existence and it’s where I’ve set up my woodworking shop! I have heat, AC and power so far!
While I certainly put in some days with just me working, I had a great crew of two of us doing most of the build. What do you think, want one of your own?
As a reminder, here is what it looked like before.

In Part Two, I’ll share the inside of the new woodworking shop!!
A She Shed, can be any structure that supports you and your creativity or maybe you just need a space of your own to retreat to!
Want or need a She Shed?
Call or email me to set up a consultation, I love designing structures (and landscapes( that support your creative pursuits.

Great!
I started reading and I thought it was going to be a process thing, with several posts. You tackled the whole thing at once! It looks great, enjoy it!
Thank you. I plan to add another post as it transforms more. Stay tuned.
Wow, I’m so impressed, you’ve done a fantastic job. Can’t wait to see how you fit out the interior!
Thank you. I am very excited about the interior as well. It will mainly be used as my woodworking shop.
Wow, I love the idea of a she shed! I’d like to have one in my backyard.
She sheds are awesome! Everyone needs a place to escape reality and do what they love. Thanks for the comment.
Wow!Great to see the new look!Your hard work is visible now in your she-shed!Enjoyable to read.
Thank you for the comment. I am very proud of how my she shed turned out. Excited to start working in it.
Oh wow, this is amazing! It’s so cool to see this come together and how awesome that you did this yourself! I’d love a she shed one day!
Carolyn,
I hope for a she shed for you also. They really are great and nice to have a space of your own.
HA, that is so cool! I was just thinking about something like this for my wife. I love the colors you picked for the “She Shed”. I am sure you will have a lot of fun working out of it.
Thanks for the comment. If your wife is like most women, I am sure she would love a she shed. It is nice to have a place to call her own and do something she loves in it. Does she have a certain hobby she would be doing in the space?
i seriously need a she shed for my office. it would be amazing. i used to have an office in the house but we converted that into another bedroom. this looks amazing.
It is important to have designated space for working. I am excited to have a space for my woodworking, instead of strung all about. Hope you find a space for yourself soon.
wow. from trash to greatness. thanks for creating something useful out of this. this is very creative and resourceful. 🙂
cha @ littlemisadvencha.com
Thank you for your comment. I am a firm believer in adaptive reuse and was excited to tackle the shed. I love how it turned out as well.
Wow, Lora! So impressed! It looks amazing!
Great job Lora
Wow Lora! This is so amazing!! Well done!!! I look forward to reading part 2.