I find it fascinating how a house works from the internals out and incorporating the parts we see (switches, faucets and lighting) to be an integral part of the design process. I liken wiring, plumbing and HVAC lines to be similar to veins and arteries in our bodies.
I mentioned in my first post in this One Room Challenge™ Series that my Dad was coming down to help me run the line sets, for the mini split HVAC system — here we go!!
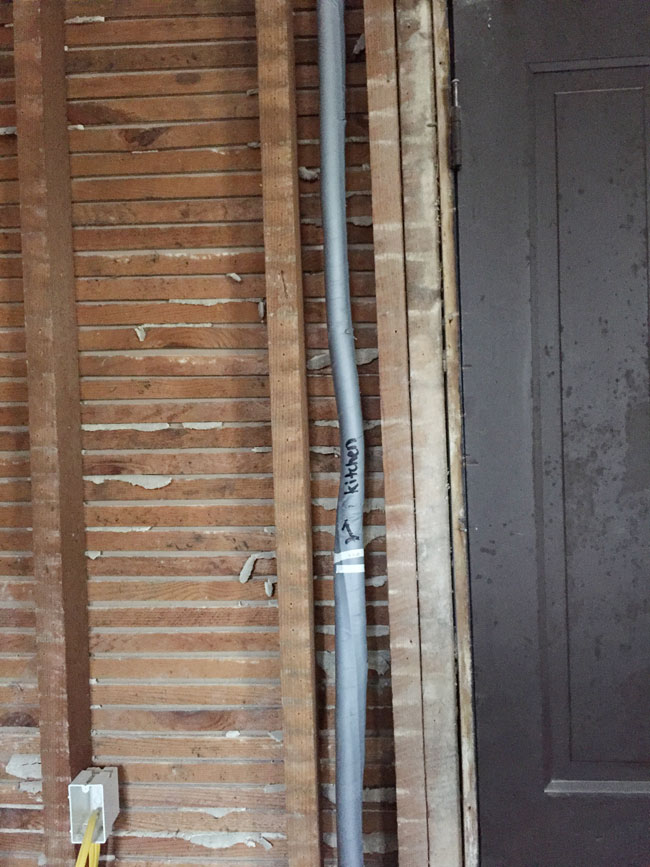
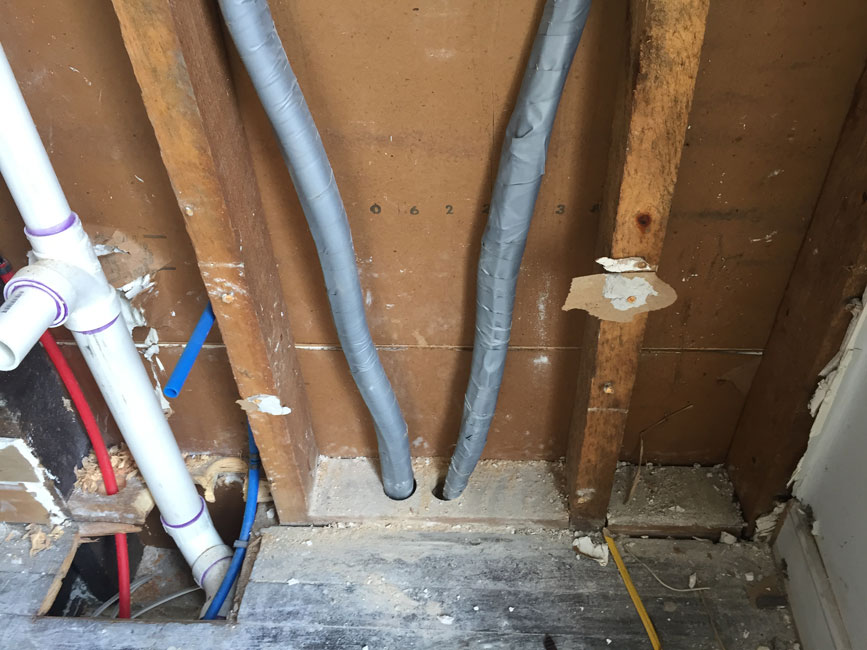
Line sets are two copper pipes covered in insulation that carry the Freon from the large condensing units outside to the small head units placed in each room, an electrical wire, and a line to drain the condensate the small head units make. See image below.

Here is a short video of me feeding a line set through a wall. It was three seconds long, but I slowed it down to show 10 seconds.
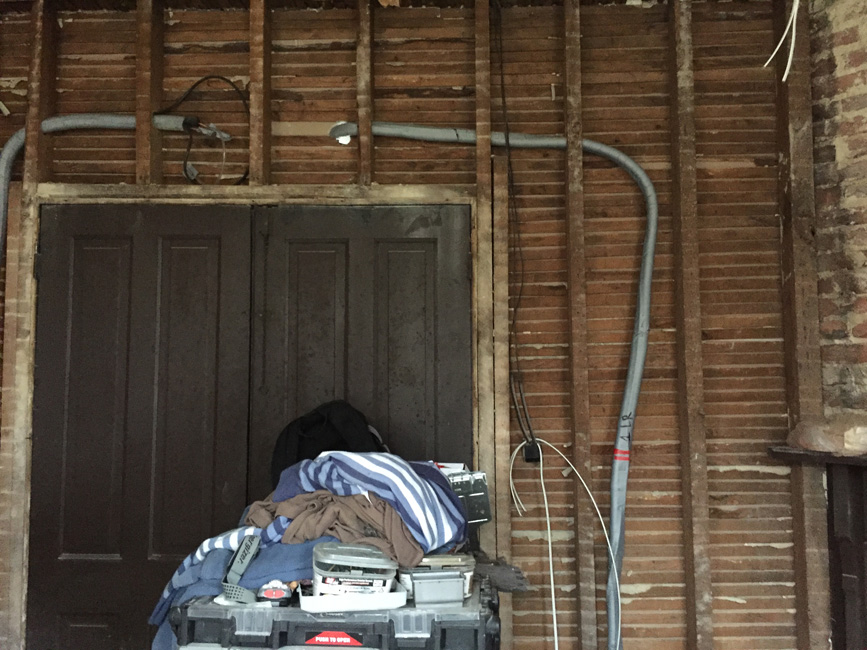
My husband was in the crawlspace feeding the line up through the floor, as he would feed it through I (who was on the first floor) would pull it up from the floor then our friend who was on the second floor would feed it from his floor and my dad would pull it up into the attic. The whole time each person would need to speak to the person above or below them, but we had to shout to be heard through the thick walls!
We installed all 8 line sets, with four lines running through the kitchen walls. It took a lot of persistence, this old house has some massive wood used as studs!!
Then, I labelled each line at each small head unit as well as in the basement where they will be connected to the two outdoor condensing units.
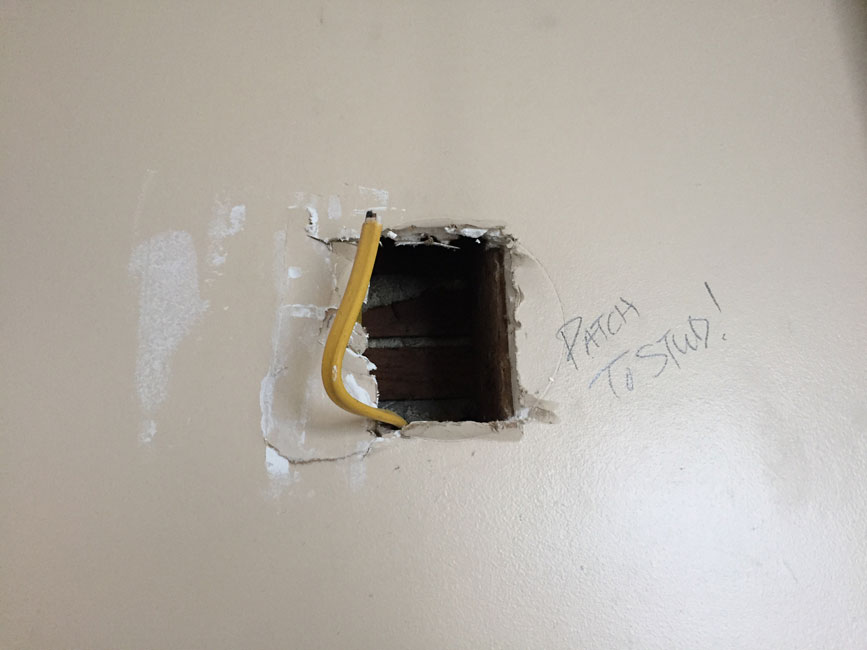
It’s taken the electricians 3 weeks to install all of the rough-in electrical throughout the whole house and some of the kitchen wiring will happen after the cabinets are installed.
The drywallers will be in next to repair the holes the electricians had to make in various rooms, along with adding new sheetrock throughout the kitchen where the wood paneling and plaster was removed.
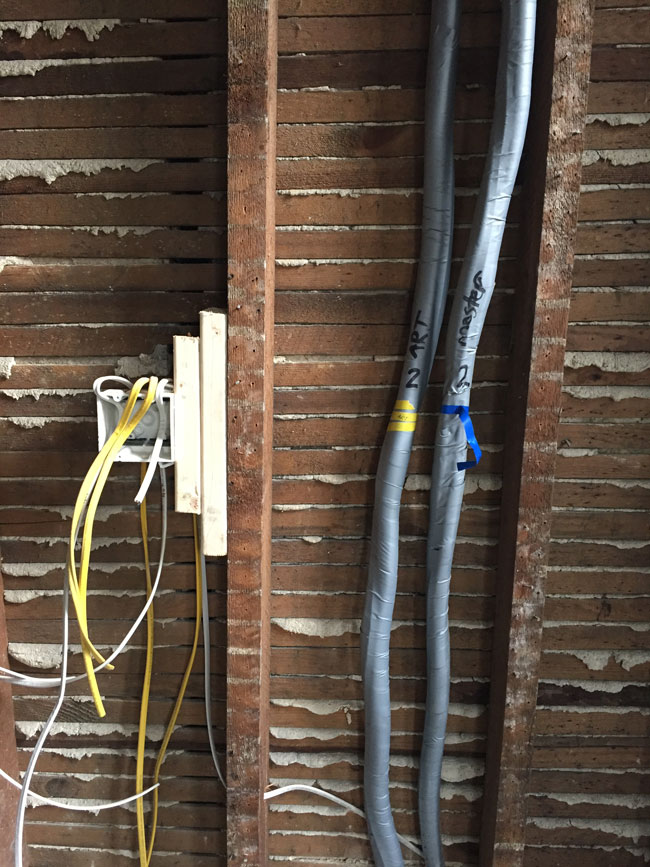
These wires are for our disposal and outlet by the kitchen sink.
And here is the plumbing getting stubbed out for the sink and dishwasher.
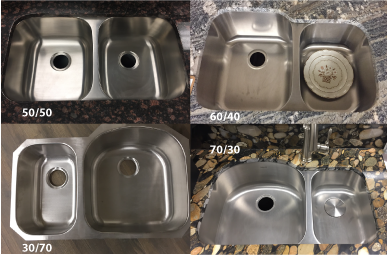
Speaking of sinks….
I went to the granite supplier and looked at the slabs that they had available and while I was there I checked out their sinks so that we could decide on the configuration we wanted. Initially I was going to just do the standard 50/50 sink, but as I like to cook and make preserves I decided to go with the 60/40 sink as it’s larger and deeper than a standard 50/50. In the 70/30 or 30/70 sink a full size plate wouldn’t fit flat like you see in the 60/40 sink image below so that sealed the deal for me!
Counters and Cabinets
The cabinet dimensions are all sorted and now I have to choose a colour! I find white cabinets to be beautiful in principal, but in our family where we actively cook and make messes, I’ve found that it bothers me to no end when the cabinets don’t get wiped down after every meal. I don’t know about you, but I don’t have time for that kind of nonsense!
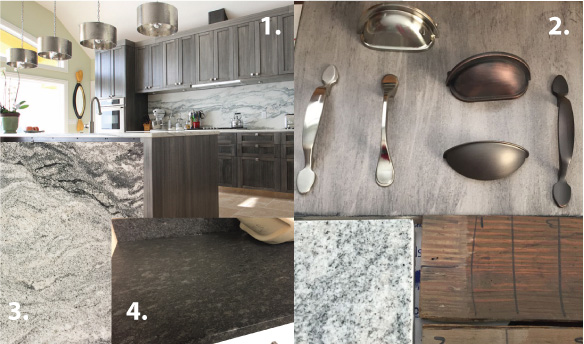
Image #1 shows the picture I sent to the cabinet makers. Image #2 is one of the samples the cabinetmaker did for me, along with a few cabinet pull selections. They got pretty close and are doing a darker sample for me too!
Image #3 and #4 are the two granite types I’ve narrowed my options down to.
What do you think, will I choose the white granite or the black granite?
Next week, I’ll share some of the pantry, the drywall and some lighting fixtures along with some more progress in the One Room Challenge™.
Don’t forget to check out what the selected designers and other guests are up to in the One Room Challenge™.

——
Did you miss other posts in this series? Check them out here.
Week 1 – Adding a Kitchen – The Before
Week 2 – Kitchen Layouts and Plaster Dust
Week 3 – Electrical, Plumbing and HVAC – You Just read it!
Week 4 – Walls, Floors and Trim
I love the white granite. I love getting a front row view of your project. Can’t wait to see more
White granite!!! You used your practicality on your cabinets. White granite is bright and beautiful. It brings your accent colours to life!! I’m a colour person too! And it will wipe clean easily – unlike wooden cupboards. This and you, are all amazing! You are living your dream ( and occasional nightmare 🤭). The “husband” is not to shabby as well! 😘
This is so interesting! We bought our home, and we’ve never done a remodel that involves a level of gutting that would have us thinking about any of this. I loved reading about it!
You’re a busy bee with all of that house renovation. I hope you go with the lighter granite though. We have gray cabinets and went with a darker granite and I really regret it since it tends to darken the room too much. The lighter choice will make it feel more airy and open, I think. Good luck with the rest of your home improvement!
I love the black granite! My vote is there. Looking forward to seeing the progress on this ORC. 🙂
Thanks for the vote!
You seem to be doing a lot of behind-the-scenes stuff with your renovation too! I think I would go with the light granite, because the dark one seems a bit cool-toned compared to the cabinets.
Good eye! Yes I love being active and getting hands on, at least on my own house!
Looks like a really tough job for me. However, I am happy with the way you are moving along. As for the kitchen, I personally would choose a darker shade for cabinets and countertops. My family makes messes like champs and I am not going to commit my entire life keeping the kitchen immaculately white.
Lines & granite … What a good mix of fun & no fun. I never knew sinks we’re available in those ratios; nifty.
Yes, pretty cool. You can also get a single sink if you don’t want a double!